


![iFixit Tears Down New M4 MacBook Air [Video]](https://www.iclarified.com/images/news/96717/96717/96717-640.jpg)

![Apple Officially Announces Return of 'Ted Lasso' for Fourth Season [Video]](https://www.iclarified.com/images/news/96710/96710/96710-640.jpg)


![9to5Rewards: Last chance to win a MacBook Pro from Chargeasap [Giveaway]](https://i0.wp.com/9to5mac.com/wp-content/uploads/sites/6/2024/10/M4-MacBook-Pro-doesnt-tempt-me-because-Apple-Silicon-Macs-are-almost-too-good.jpg?resize=1200%2C628&quality=82&strip=all&ssl=1)


![[The AI Show Episode 139]: The Government Knows AGI Is Coming, Superintelligence Strategy, OpenAI’s $20,000 Per Month Agents & Top 100 Gen AI Apps](https://www.marketingaiinstitute.com/hubfs/ep%20139%20cover-2.png)


![[The AI Show Episode 138]: Introducing GPT-4.5, Claude 3.7 Sonnet, Alexa+, Deep Research Now in ChatGPT Plus & How AI Is Disrupting Writing](https://www.marketingaiinstitute.com/hubfs/ep%20138%20cover.png)


![If I use an API licensed with apache 2.0 in my project, what license do I use and what should I be aware of? [closed]](https://cdn.sstatic.net/Sites/softwareengineering/Img/apple-touch-icon@2.png?v=1ef7363febba)


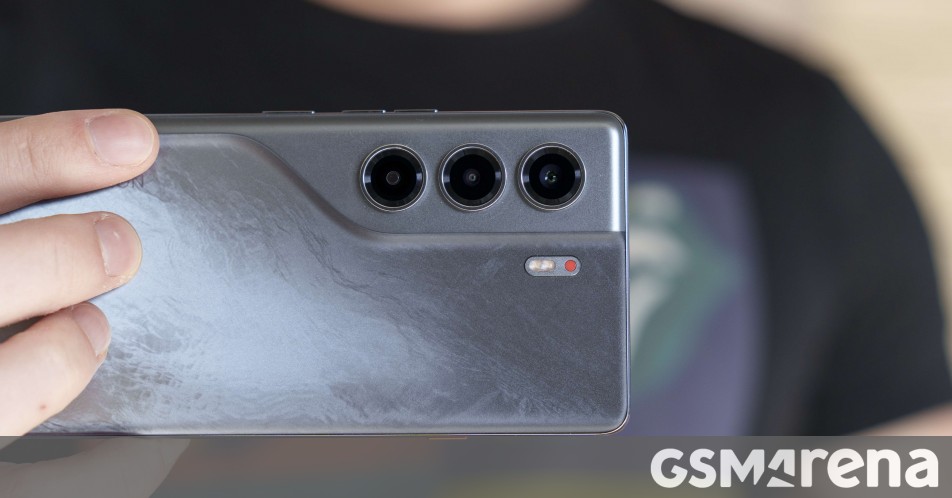
.jpg?#)

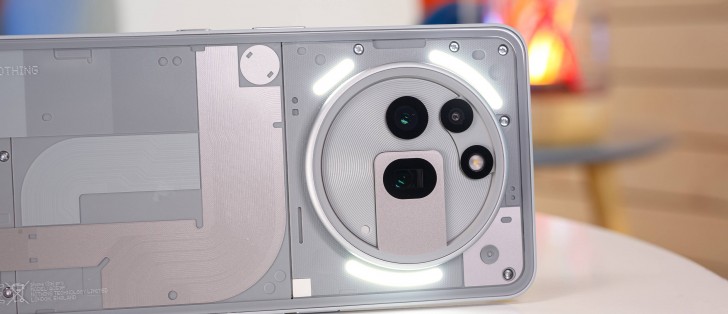
.jpg?#)


Deploying Qwen-2.5 Model on AWS Using Amazon SageMaker AI
Deploying Alibaba's Qwen-2.5 model on AWS using Amazon SageMaker involves several steps, including preparing the environment, downloading and packaging the model, creating a custom container (if necessary), and deploying it to an endpoint. Below is a step-by-step guide for deploying Qwen-2.5 on AWS SageMaker. Prerequisites: AWS Account: You need an active AWS account with permissions to use SageMaker. SageMaker Studio or Notebook Instance: This will be your development environment where you can prepare and deploy the model. Docker: If you need to create a custom container, Docker will be required locally. Alibaba Model Repository Access: Ensure that you have access to the Qwen-2.5 model weights and configuration files from Alibaba’s ModelScope or Hugging Face repository. Step 1: Set Up Your SageMaker Environment Launch SageMaker Studio: Go to the AWS Management Console. Navigate to Amazon SageMaker > SageMaker Studio. Create a new domain or use an existing one. Launch a Jupyter notebook instance within SageMaker Studio. Install Required Libraries: Open a terminal in SageMaker Studio or your notebook instance and install the necessary libraries: pip install boto3 sagemaker transformers torch Step 2: Download the Qwen-2.5 Model You can download the Qwen-2.5 model from Alibaba’s ModelScope or Hugging Face repository. For this example, we’ll assume you are using Hugging Face. Download the Model Locally: Use the transformers library to download the model: from transformers import AutoModelForCausalLM, AutoTokenizer model_name = "Qwen/Qwen-2.5" # Replace with the actual model name if different tokenizer = AutoTokenizer.from_pretrained(model_name) model = AutoModelForCausalLM.from_pretrained(model_name) # Save the model and tokenizer locally model.save_pretrained("./qwen-2.5") tokenizer.save_pretrained("./qwen-2.5") Package the Model: After downloading the model, package it into a .tar.gz file so that it can be uploaded to S3. tar -czvf qwen-2.5.tar.gz ./qwen-2.5 Upload the Model to S3: Upload the packaged model to an S3 bucket: import boto3 s3 = boto3.client('s3') s3.upload_file("qwen-2.5.tar.gz", "your-s3-bucket-name", "qwen-2.5/qwen-2.5.tar.gz") Step 3: Create a Custom Inference Container (Optional) If you want to use a pre-built container from AWS, you can skip this step. However, if you need to customize the inference logic, you may need to create a custom Docker container. Create a Dockerfile: Create a Dockerfile that installs the necessary dependencies and sets up the inference script. FROM python:3.8 # Install dependencies RUN pip install --upgrade pip RUN pip install transformers torch boto3 # Copy the inference script COPY inference.py /opt/ml/code/inference.py # Set the entry point ENV SAGEMAKER_PROGRAM inference.py Create the Inference Script: Create an inference.py file that handles loading the model and performing inference. import os import json from transformers import AutoModelForCausalLM, AutoTokenizer # Load the model and tokenizer def model_fn(model_dir): tokenizer = AutoTokenizer.from_pretrained(model_dir) model = AutoModelForCausalLM.from_pretrained(model_dir) return {"model": model, "tokenizer": tokenizer} # Handle incoming requests def input_fn(request_body, request_content_type): if request_content_type == 'application/json': input_data = json.loads(request_body) return input_data['text'] else: raise ValueError(f"Unsupported content type: {request_content_type}") # Perform inference def predict_fn(input_data, model_dict): model = model_dict["model"] tokenizer = model_dict["tokenizer"] inputs = tokenizer(input_data, return_tensors="pt") outputs = model.generate(**inputs) return tokenizer.decode(outputs[0], skip_special_tokens=True) # Return the response def output_fn(prediction, response_content_type): return json.dumps({"generated_text": prediction}) Build and Push the Docker Image: Build the Docker image and push it to Amazon Elastic Container Registry (ECR). # Build the Docker image docker build -t qwen-2.5-inference . # Tag the image for ECR docker tag qwen-2.5-inference:latest .dkr.ecr..amazonaws.com/qwen-2.5-inference:latest # Push the image to ECR aws ecr get-login-password --region | docker login --username AWS --password-stdin .dkr.ecr..amazonaws.com docker push .dkr.ecr..amazonaws.com/qwen-2.5-inference:latest Step 4: Deploy the Model on SageMaker Create a SageMaker Model: Use the SageMaker Python SDK to create a model object. If you created a custom container, specify the ECR image URI. import sagemaker from sagemaker import Model role = "arn:aws:iam:::role/" model_

Deploying Alibaba's Qwen-2.5 model on AWS using Amazon SageMaker involves several steps, including preparing the environment, downloading and packaging the model, creating a custom container (if necessary), and deploying it to an endpoint. Below is a step-by-step guide for deploying Qwen-2.5 on AWS SageMaker.
Prerequisites:
- AWS Account: You need an active AWS account with permissions to use SageMaker.
- SageMaker Studio or Notebook Instance: This will be your development environment where you can prepare and deploy the model.
- Docker: If you need to create a custom container, Docker will be required locally.
- Alibaba Model Repository Access: Ensure that you have access to the Qwen-2.5 model weights and configuration files from Alibaba’s ModelScope or Hugging Face repository.
Step 1: Set Up Your SageMaker Environment
-
Launch SageMaker Studio:
- Go to the AWS Management Console.
- Navigate to Amazon SageMaker > SageMaker Studio.
- Create a new domain or use an existing one.
- Launch a Jupyter notebook instance within SageMaker Studio.
Install Required Libraries:
Open a terminal in SageMaker Studio or your notebook instance and install the necessary libraries:
pip install boto3 sagemaker transformers torch
Step 2: Download the Qwen-2.5 Model
You can download the Qwen-2.5 model from Alibaba’s ModelScope or Hugging Face repository. For this example, we’ll assume you are using Hugging Face.
-
Download the Model Locally:
Use the
transformerslibrary to download the model:
   from transformers import AutoModelForCausalLM, AutoTokenizer

   model_name = "Qwen/Qwen-2.5"  # Replace with the actual model name if different
   tokenizer = AutoTokenizer.from_pretrained(model_name)
   model = AutoModelForCausalLM.from_pretrained(model_name)

   # Save the model and tokenizer locally
   model.save_pretrained("./qwen-2.5")
   tokenizer.save_pretrained("./qwen-2.5")
-
Package the Model:
After downloading the model, package it into a
.tar.gzfile so that it can be uploaded to S3.
tar -czvf qwen-2.5.tar.gz ./qwen-2.5
- Upload the Model to S3: Upload the packaged model to an S3 bucket:
   import boto3

   s3 = boto3.client('s3')
   s3.upload_file("qwen-2.5.tar.gz", "your-s3-bucket-name", "qwen-2.5/qwen-2.5.tar.gz")
Step 3: Create a Custom Inference Container (Optional)
If you want to use a pre-built container from AWS, you can skip this step. However, if you need to customize the inference logic, you may need to create a custom Docker container.
-
Create a Dockerfile:
Create a
Dockerfilethat installs the necessary dependencies and sets up the inference script.
   FROM python:3.8

   # Install dependencies
   RUN pip install --upgrade pip
   RUN pip install transformers torch boto3

   # Copy the inference script
   COPY inference.py /opt/ml/code/inference.py

   # Set the entry point
   ENV SAGEMAKER_PROGRAM inference.py
-
Create the Inference Script:
Create an
inference.pyfile that handles loading the model and performing inference.
   import os
   import json
   from transformers import AutoModelForCausalLM, AutoTokenizer

   # Load the model and tokenizer
   def model_fn(model_dir):
       tokenizer = AutoTokenizer.from_pretrained(model_dir)
       model = AutoModelForCausalLM.from_pretrained(model_dir)
       return {"model": model, "tokenizer": tokenizer}

   # Handle incoming requests
   def input_fn(request_body, request_content_type):
       if request_content_type == 'application/json':
           input_data = json.loads(request_body)
           return input_data['text']
       else:
           raise ValueError(f"Unsupported content type: {request_content_type}")

   # Perform inference
   def predict_fn(input_data, model_dict):
       model = model_dict["model"]
       tokenizer = model_dict["tokenizer"]
       inputs = tokenizer(input_data, return_tensors="pt")
       outputs = model.generate(**inputs)
       return tokenizer.decode(outputs[0], skip_special_tokens=True)

   # Return the response
   def output_fn(prediction, response_content_type):
       return json.dumps({"generated_text": prediction})
- Build and Push the Docker Image: Build the Docker image and push it to Amazon Elastic Container Registry (ECR).
   # Build the Docker image
   docker build -t qwen-2.5-inference .

   # Tag the image for ECR
   docker tag qwen-2.5-inference:latest .dkr.ecr..amazonaws.com/qwen-2.5-inference:latest

   # Push the image to ECR
   aws ecr get-login-password --region  | docker login --username AWS --password-stdin .dkr.ecr..amazonaws.com
   docker push .dkr.ecr..amazonaws.com/qwen-2.5-inference:latest
Step 4: Deploy the Model on SageMaker
- Create a SageMaker Model: Use the SageMaker Python SDK to create a model object. If you created a custom container, specify the ECR image URI.
import sagemaker
from sagemaker import Model
role = "arn:aws:iam:::role/ "
model_data = "s3://your-s3-bucket-name/qwen-2.5/qwen-2.5.tar.gz"
image_uri = ".dkr.ecr..amazonaws.com/qwen-2.5-inference:latest "
model = Model(
image_uri=image_uri,
model_data=model_data,
role=role,
name="qwen-2.5-model"
)
- Deploy the Model to an Endpoint: Deploy the model to a SageMaker endpoint.
   predictor = model.deploy(
       initial_instance_count=1,
       instance_type='ml.m5.large'
   )
Step 5: Test the Endpoint
Once the endpoint is deployed, you can test it by sending inference requests.
import json

# Test the endpoint
data = {"text": "What is the capital of France?"}
response = predictor.predict(json.dumps(data))

print(response)
Step 6: Clean Up
To avoid unnecessary charges, delete the endpoint and any associated resources when you're done.
predictor.delete_endpoint()
Conclusion
You have successfully deployed Alibaba's Qwen-2.5 model on AWS using Amazon SageMaker. You can now use the SageMaker endpoint to serve real-time inference requests. Depending on your use case, you can scale the deployment by adjusting the instance type and count.