


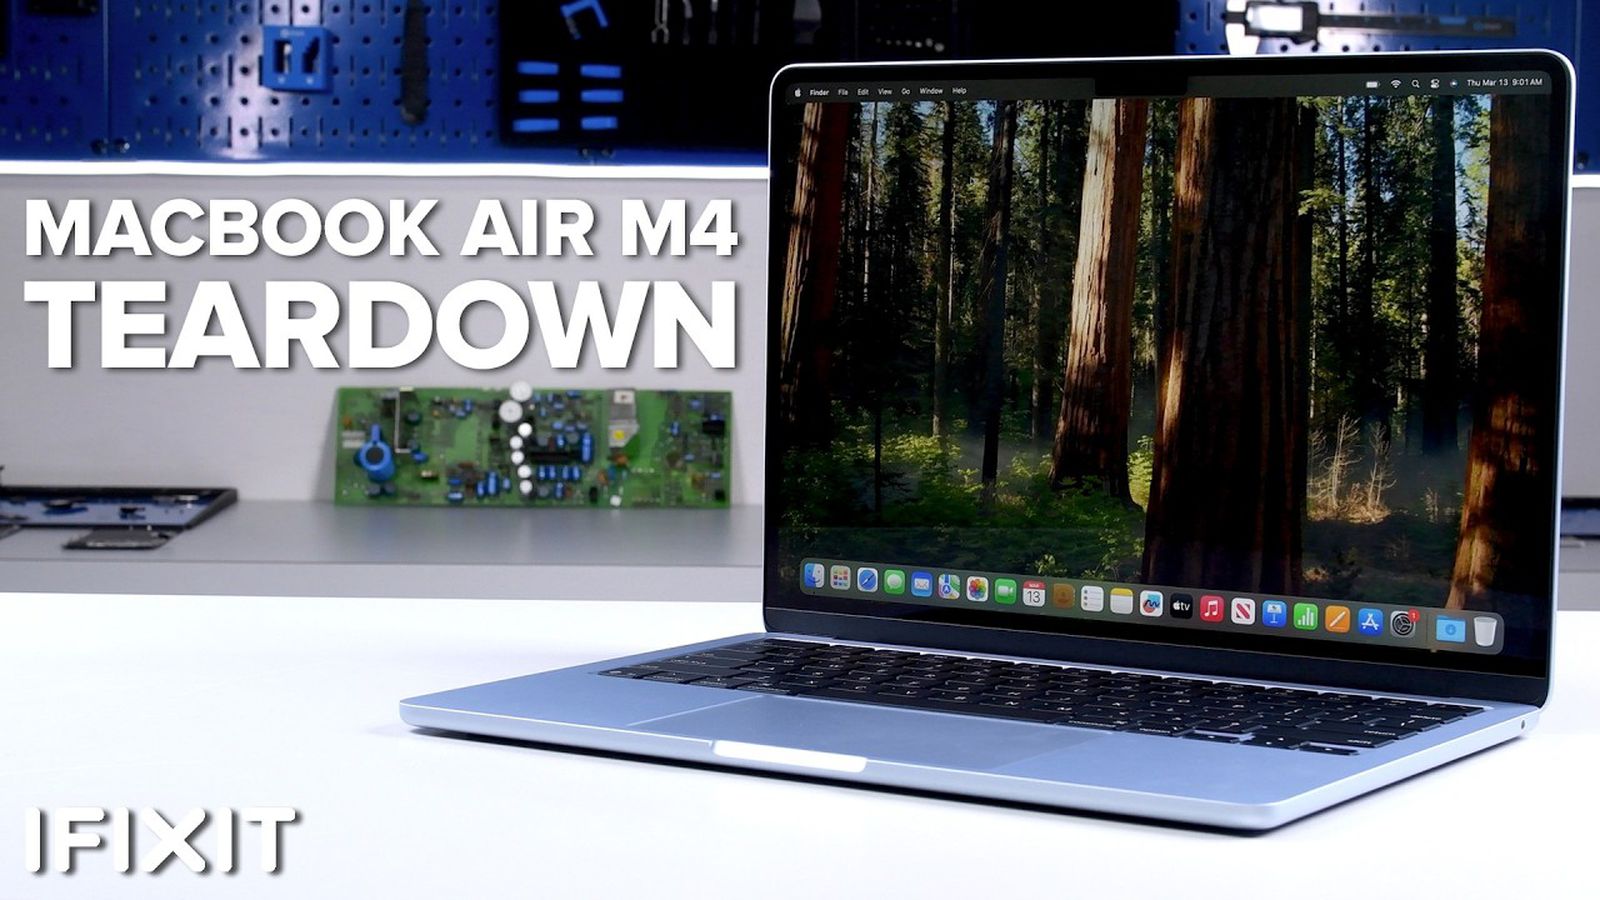


![iFixit Tears Down New M4 MacBook Air [Video]](https://www.iclarified.com/images/news/96717/96717/96717-640.jpg)

![Apple Officially Announces Return of 'Ted Lasso' for Fourth Season [Video]](https://www.iclarified.com/images/news/96710/96710/96710-640.jpg)


![[Update: Fix] Chromecast (2nd gen) and Audio can’t Cast in ‘Untrusted’ outage](https://i0.wp.com/9to5google.com/wp-content/uploads/sites/4/2019/08/chromecast_audio_1.jpg?resize=1200%2C628&quality=82&strip=all&ssl=1)


![[The AI Show Episode 139]: The Government Knows AGI Is Coming, Superintelligence Strategy, OpenAI’s $20,000 Per Month Agents & Top 100 Gen AI Apps](https://www.marketingaiinstitute.com/hubfs/ep%20139%20cover-2.png)


![[The AI Show Episode 138]: Introducing GPT-4.5, Claude 3.7 Sonnet, Alexa+, Deep Research Now in ChatGPT Plus & How AI Is Disrupting Writing](https://www.marketingaiinstitute.com/hubfs/ep%20138%20cover.png)


.jpg?#)


AvaloniaUI Native AOT Deployment on Windows
Introduction Deploying an AvaloniaUI application with Native AOT (Ahead-Of-Time compilation) on Windows can significantly improve startup performance and reduce the size of your application. However, due to Avalonia's reliance on reflection-based bindings, Native AOT can cause runtime errors if not properly configured. This guide provides a step-by-step approach to resolving trimming issues and ensuring a successful Native AOT deployment for AvaloniaUI applications. Common Issues and Fixes 1. XAML Views Not Reachable via Runtime Loader If you encounter the following error: Avalonia: XAML resource "avares://YourApp/Views/MainWindow.axaml" won't be reachable via runtime loader, as no public constructor was found. ✅ Fix: Ensure Your Views Have a Public Constructor Each view must have a public parameterless constructor in its .axaml.cs file. Example: public partial class MainWindow : Window { public MainWindow() { InitializeComponent(); } } 2. Ensure XAML Files Are Embedded Properly If your UI does not load or throws missing resource errors, check your XAML file properties. ✅ Fix: Set Build Action to AvaloniaResource Open Visual Studio. Right-click your .axaml file → Select Properties. Set Build Action to AvaloniaResource. 3. Fixing PublishTrimmed and Trimming Issues Since Native AOT automatically enables trimming, Avalonia's reflection-based UI bindings might get stripped out. ✅ Fix: Add TrimmerRootAssembly in .csproj To prevent Avalonia's essential assemblies from being trimmed, modify your .csproj file: 4. Project Configuration WinExe net8.0 enable true true true true partial app.manifest false true false Building and Publishing for Native AOT Run the following command to publish your Avalonia app with Native AOT: dotnet publish -r win-x64 -c Release --self-contained true -p:PublishAot=true Final Checklist for Native AOT Deployment ✅ ✔ Ensure all views have a public constructor ✔ Set XAML files to AvaloniaResource ✔ Prevent trimming of required Avalonia assemblies (TrimmerRootAssembly) ✔ Use rd.xml to preserve Avalonia reflection-based types ✔ Properly initialize Avalonia in App.axaml.cs ✔ Publish using dotnet publish -p:PublishAot=true Conclusion By following these steps, you can successfully deploy AvaloniaUI applications using Native AOT on Windows without breaking essential functionality. This ensures a smaller, faster application while avoiding common pitfalls with Avalonia’s reflection-heavy UI framework. For further details, refer to the official documentation: AvaloniaUI Native AOT Guide Microsoft .NET Native AOT Deployment

Introduction
Deploying an AvaloniaUI application with Native AOT (Ahead-Of-Time compilation) on Windows can significantly improve startup performance and reduce the size of your application. However, due to Avalonia's reliance on reflection-based bindings, Native AOT can cause runtime errors if not properly configured.
This guide provides a step-by-step approach to resolving trimming issues and ensuring a successful Native AOT deployment for AvaloniaUI applications.
Common Issues and Fixes
1. XAML Views Not Reachable via Runtime Loader
If you encounter the following error:
Avalonia: XAML resource "avares://YourApp/Views/MainWindow.axaml" won't be reachable via runtime loader, as no public constructor was found.
✅ Fix: Ensure Your Views Have a Public Constructor
Each view must have a public parameterless constructor in its .axaml.cs file. Example:
public partial class MainWindow : Window
{
    public MainWindow()
    {
        InitializeComponent();
    }
}
2. Ensure XAML Files Are Embedded Properly
If your UI does not load or throws missing resource errors, check your XAML file properties.
✅ Fix: Set Build Action to AvaloniaResource
- Open Visual Studio.
- Right-click your
.axamlfile → Select Properties. - Set Build Action to
AvaloniaResource.
3. Fixing PublishTrimmed and Trimming Issues
Since Native AOT automatically enables trimming, Avalonia's reflection-based UI bindings might get stripped out.
✅ Fix: Add TrimmerRootAssembly in .csproj
To prevent Avalonia's essential assemblies from being trimmed, modify your .csproj file:
     Include="Avalonia.Controls" />
     Include="Avalonia.Base" />
     Include="Avalonia.Markup.Xaml" />
4. Project Configuration
        WinExe
        net8.0
        enable
        true
        true
        true
        true


        partial
        app.manifest
        false
        true
        false
Building and Publishing for Native AOT
Run the following command to publish your Avalonia app with Native AOT:
dotnet publish -r win-x64 -c Release --self-contained true -p:PublishAot=true
Final Checklist for Native AOT Deployment ✅
✔ Ensure all views have a public constructor
✔ Set XAML files to AvaloniaResource
✔ Prevent trimming of required Avalonia assemblies (TrimmerRootAssembly)
✔ Use rd.xml to preserve Avalonia reflection-based types
✔ Properly initialize Avalonia in App.axaml.cs
✔ Publish using dotnet publish -p:PublishAot=true
Conclusion
By following these steps, you can successfully deploy AvaloniaUI applications using Native AOT on Windows without breaking essential functionality. This ensures a smaller, faster application while avoiding common pitfalls with Avalonia’s reflection-heavy UI framework.
For further details, refer to the official documentation:


