


![iFixit Tears Down New M4 MacBook Air [Video]](https://www.iclarified.com/images/news/96717/96717/96717-640.jpg)

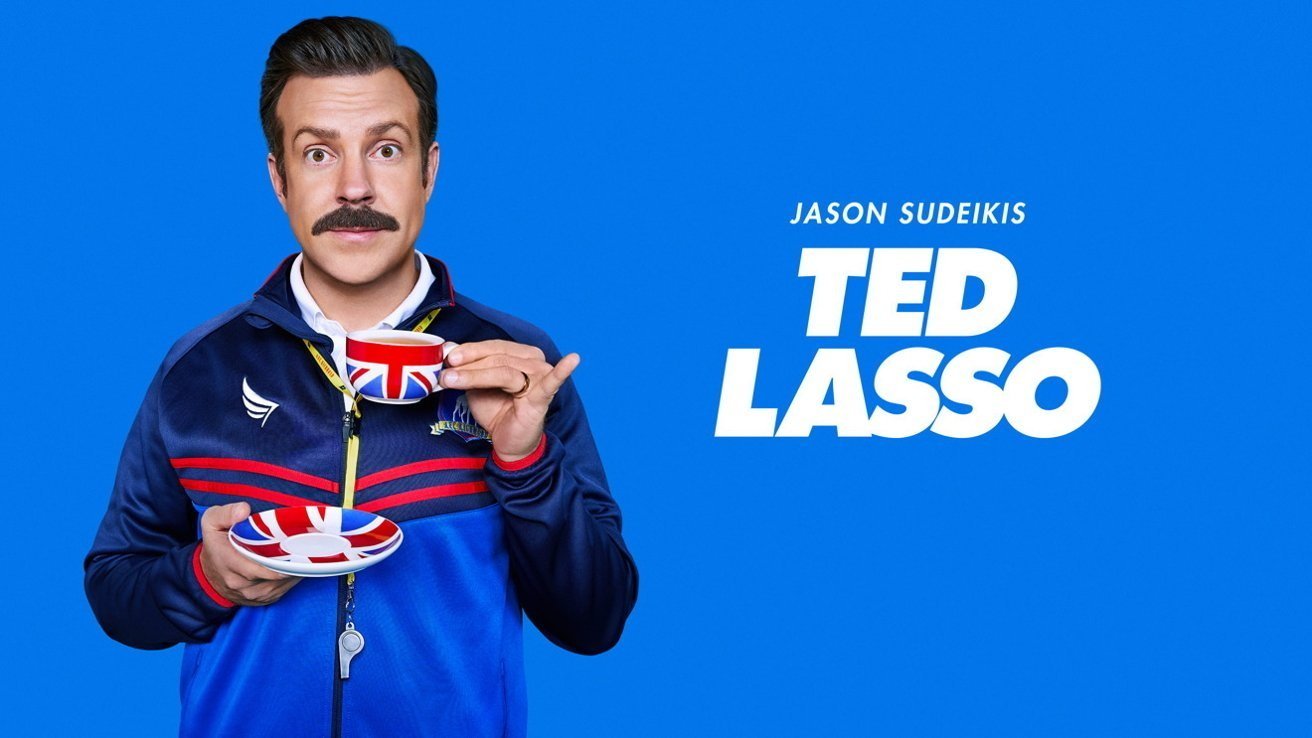
![Apple Officially Announces Return of 'Ted Lasso' for Fourth Season [Video]](https://www.iclarified.com/images/news/96710/96710/96710-640.jpg)


![[Update: Fix] Chromecast (2nd gen) and Audio can’t Cast in ‘Untrusted’ outage](https://i0.wp.com/9to5google.com/wp-content/uploads/sites/4/2019/08/chromecast_audio_1.jpg?resize=1200%2C628&quality=82&strip=all&ssl=1)


![[The AI Show Episode 139]: The Government Knows AGI Is Coming, Superintelligence Strategy, OpenAI’s $20,000 Per Month Agents & Top 100 Gen AI Apps](https://www.marketingaiinstitute.com/hubfs/ep%20139%20cover-2.png)


![[The AI Show Episode 138]: Introducing GPT-4.5, Claude 3.7 Sonnet, Alexa+, Deep Research Now in ChatGPT Plus & How AI Is Disrupting Writing](https://www.marketingaiinstitute.com/hubfs/ep%20138%20cover.png)


.jpg?#)


Building an AI Chatbot with Google AI Studio & Flask. And how you can create one yourself.
Hello there, nerds! Arsey here. I've always wanted to build and integrate AI into my projects, but the lack of resources made it quite a hassle. However, as the saying goes, "your imagination is the limit!" So, I took up the challenge and successfully built an AI-powered chatbot using Flask, HTML, CSS, and JavaScript—and guess what? I did it using only my smartphone! Impressive, right? Well, this was made possible thanks to Google AI Studio, a platform that allows developers to easily build and integrate Google’s state-of-the-art generative model, Gemini. In this tutorial, I'll guide you step by step on how I built this chatbot so you can do it too. Let’s get coding! Prerequisites Before we begin, I assume you have some basic knowledge of: ✅ Python (especially Flask) ✅ JavaScript, HTML, and CSS If you're comfortable with these, you're good to go! You can also check out the source code for this project on my GitHub. Part 1: Setting Up the Environment Install Python First, ensure you have Python installed. If you haven't installed it yet, download it here and follow the installation steps. Install Required Libraries Now, let's install the necessary dependencies. Run the following command: pip install flask markdown google-generativeai Get Your Google AI Studio API Key Open Google AI Studio in your browser. Sign up or log in. Navigate to the side panel. Click on "Get API Key" and follow the steps to create a new API key. Testing the API Key Let's verify that our API key works by running this simple script: import google.generativeai as genai genai.configure(api_key="YOUR_GEMINI_API_KEY") model = genai.GenerativeModel("gemini-2.0-flash") response = model.generate_content("Explain how AI works") print(response.text) Breaking it Down: ✅ We import the google-generativeai library. ✅ We configure the AI model using genai.configure(api_key="YOUR_GEMINI_API_KEY"). ✅ We choose Gemini 2.0 Flash as our model. ✅ We generate a response using model.generate_content("Explain how AI works"). ✅ Finally, we print the response to see Gemini's answer. If everything is set up correctly, you should see an AI-generated explanation of how AI works!
Hello there, nerds! Arsey here.
I've always wanted to build and integrate AI into my projects, but the lack of resources made it quite a hassle. However, as the saying goes, "your imagination is the limit!"
So, I took up the challenge and successfully built an AI-powered chatbot using Flask, HTML, CSS, and JavaScript—and guess what? I did it using only my smartphone! Impressive, right? Well, this was made possible thanks to Google AI Studio, a platform that allows developers to easily build and integrate Google’s state-of-the-art generative model, Gemini.
In this tutorial, I'll guide you step by step on how I built this chatbot so you can do it too. Let’s get coding!
Prerequisites
Before we begin, I assume you have some basic knowledge of:
✅ Python (especially Flask)
✅ JavaScript, HTML, and CSS
If you're comfortable with these, you're good to go! You can also check out the source code for this project on my GitHub.
Part 1: Setting Up the Environment
Install Python
First, ensure you have Python installed. If you haven't installed it yet, download it here and follow the installation steps.Install Required Libraries
Now, let's install the necessary dependencies. Run the following command:
pip install flask markdown google-generativeai
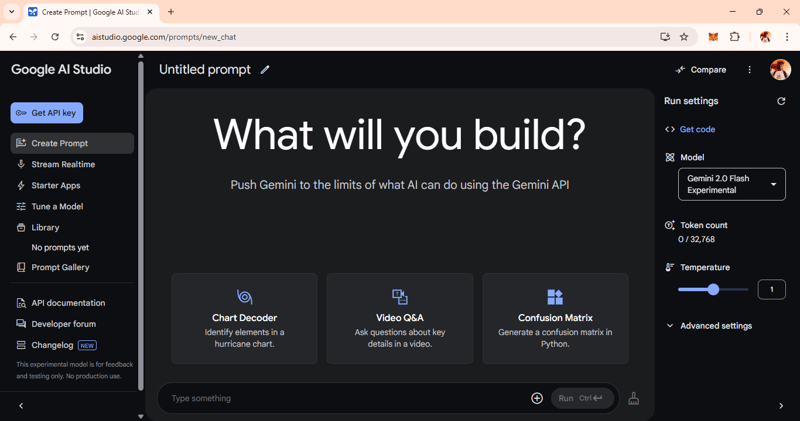
- Get Your Google AI Studio API Key Open Google AI Studio in your browser. Sign up or log in.
Navigate to the side panel.
Click on "Get API Key" and follow the steps to create a new API key.
Testing the API Key
Let's verify that our API key works by running this simple script:
import google.generativeai as genai

genai.configure(api_key="YOUR_GEMINI_API_KEY")
model = genai.GenerativeModel("gemini-2.0-flash")
response = model.generate_content("Explain how AI works")

print(response.text)
Breaking it Down:
✅ We import the google-generativeai library.
✅ We configure the AI model using genai.configure(api_key="YOUR_GEMINI_API_KEY").
✅ We choose Gemini 2.0 Flash as our model.
✅ We generate a response using model.generate_content("Explain how AI works").
✅ Finally, we print the response to see Gemini's answer.
If everything is set up correctly, you should see an AI-generated explanation of how AI works!


