


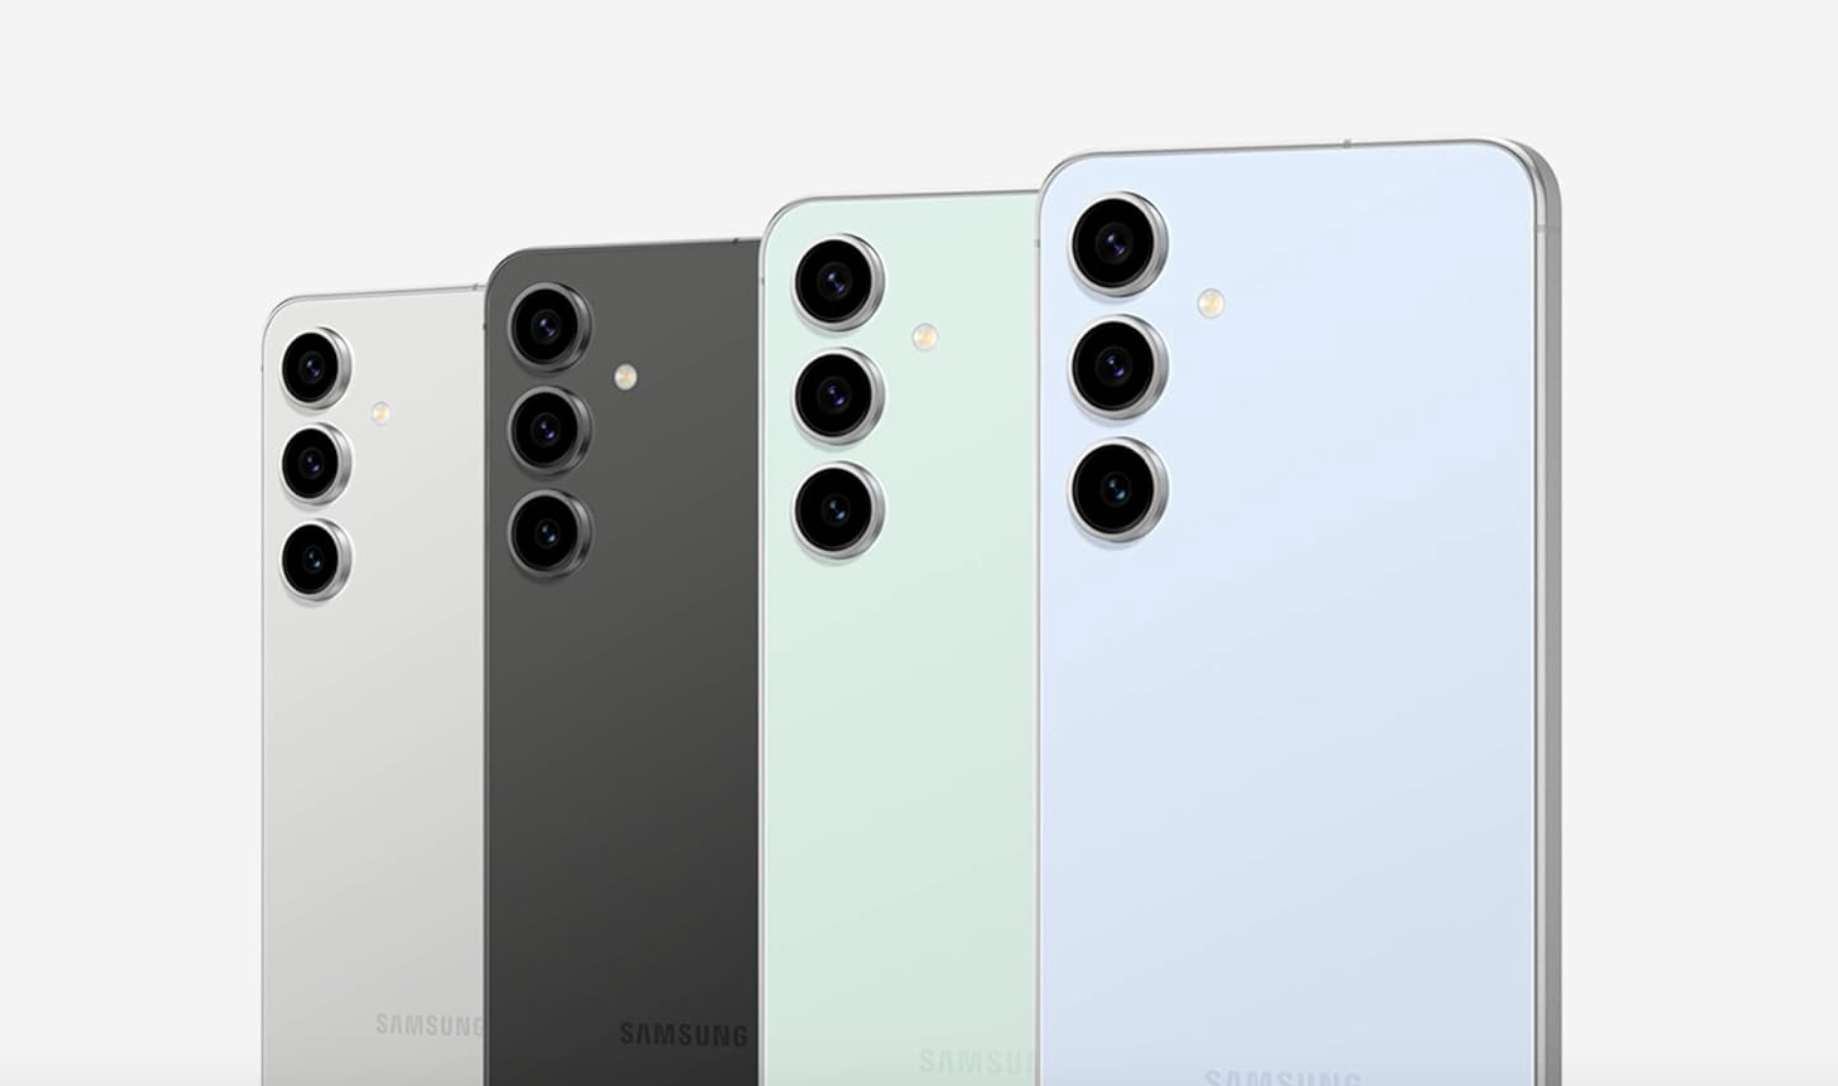


![Samsung's New Galaxy S25 Edge Takes Aim at 'iPhone 17 Air' [Video]](https://www.iclarified.com/images/news/97276/97276/97276-640.jpg)
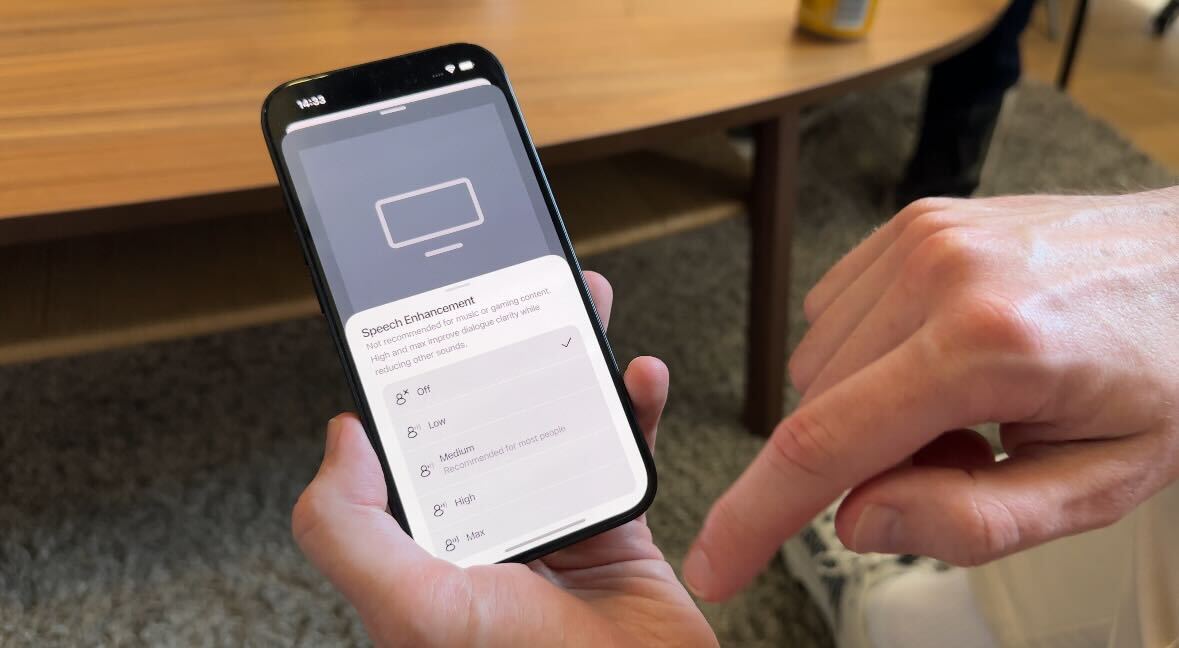
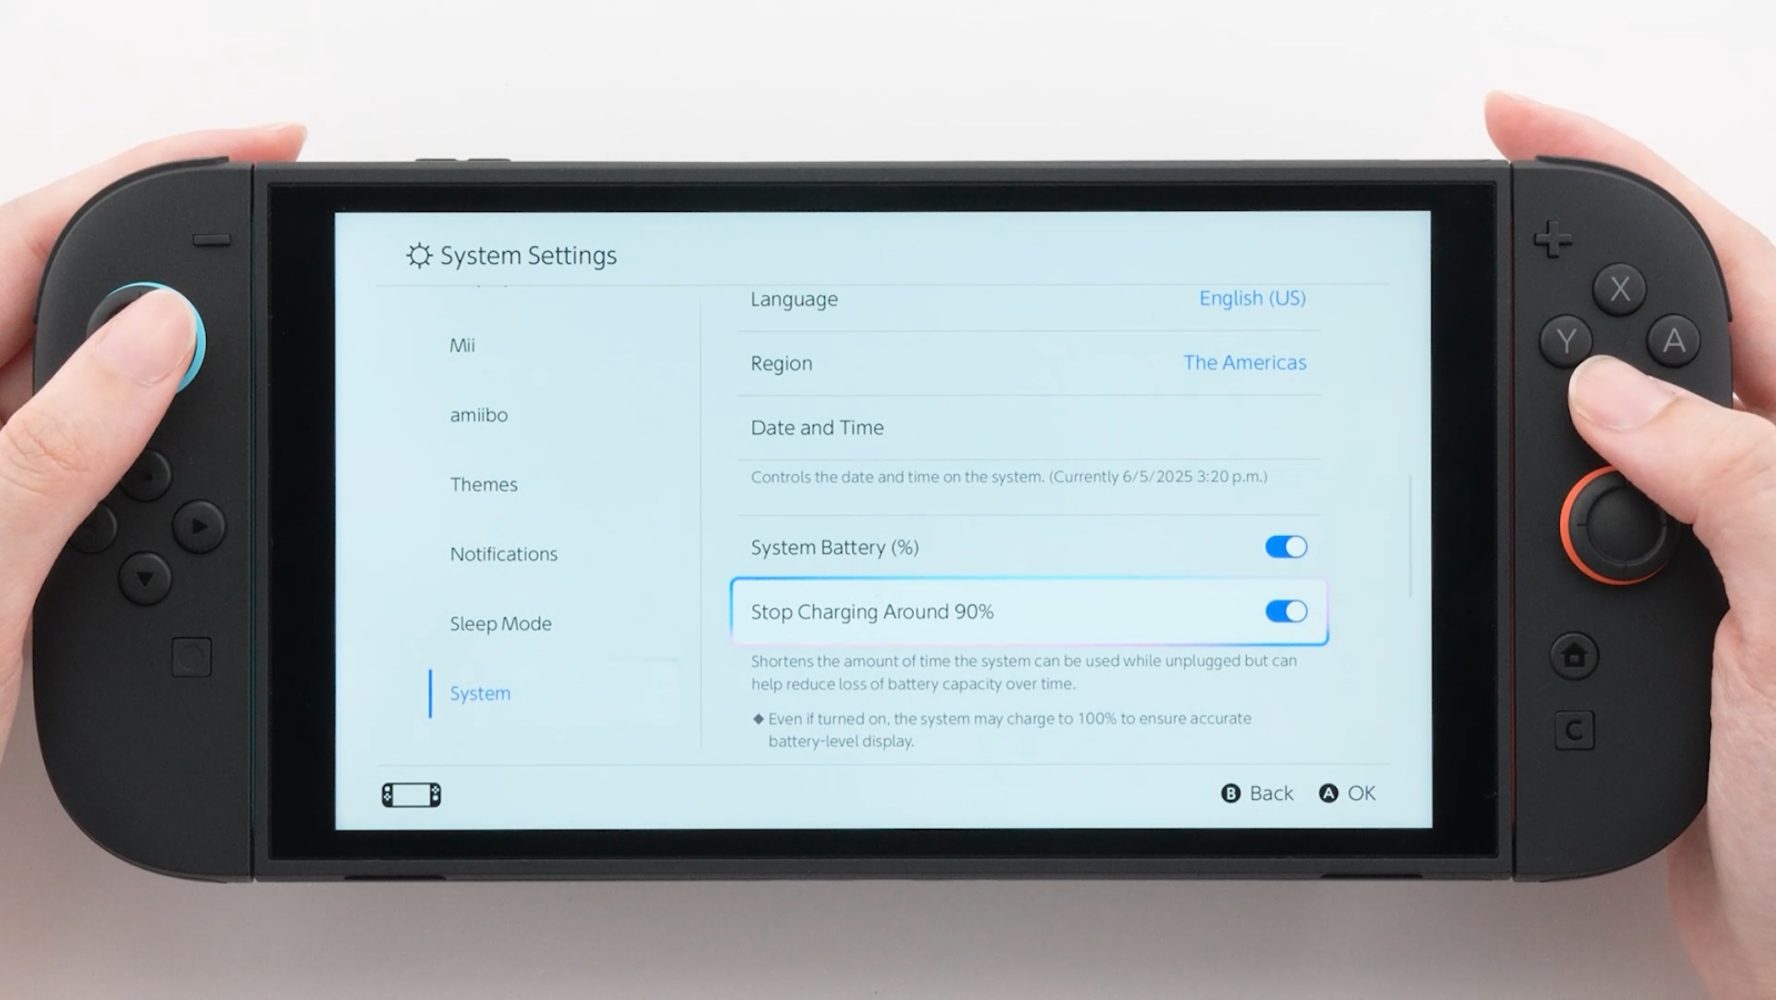
![Apple to Launch AI-Powered Battery Saver Mode in iOS 19 [Report]](https://www.iclarified.com/images/news/97309/97309/97309-640.jpg)
![Apple Officially Releases macOS Sequoia 15.5 [Download]](https://www.iclarified.com/images/news/97308/97308/97308-640.jpg)


![Walmart’s $30 Google TV streamer is now in stores and it supports USB-C hubs [Video]](https://i0.wp.com/9to5google.com/wp-content/uploads/sites/4/2025/05/onn-4k-plus-store-reddit.jpg?resize=1200%2C628&quality=82&strip=all&ssl=1)


_Piotr_Adamowicz_Alamy.jpg?width=1280&auto=webp&quality=80&disable=upscale#)


![Ditching a Microsoft Job to Enter Startup Purgatory with Lonewolf Engineer Sam Crombie [Podcast #171]](https://cdn.hashnode.com/res/hashnode/image/upload/v1746753508177/0cd57f66-fdb0-4972-b285-1443a7db39fc.png?#)


A Step-by-Step Guide on Building, Customizing, and Publishing an AI-Focused Blogging Website with Lovable.dev and Seamless GitHub Integration
In this tutorial, we will guide you step-by-step through creating and publishing a sleek, modern AI blogging website using Lovable.dev. Lovable.dev simplifies website creation, enabling users to effortlessly develop visually appealing and responsive web pages tailored to specific niches, like AI and technology. We’ll demonstrate how to build a homepage quickly, integrate interactive components, and […] The post A Step-by-Step Guide on Building, Customizing, and Publishing an AI-Focused Blogging Website with Lovable.dev and Seamless GitHub Integration appeared first on MarkTechPost.

In this tutorial, we will guide you step-by-step through creating and publishing a sleek, modern AI blogging website using Lovable.dev. Lovable.dev simplifies website creation, enabling users to effortlessly develop visually appealing and responsive web pages tailored to specific niches, like AI and technology. We’ll demonstrate how to build a homepage quickly, integrate interactive components, and deploy your site live in just a few clicks. We will also guide you on how to publish it on GitHub.
Step 01: Start with a simple or detailed template according to the website’s requirements, theme, color, background, and functionalities.
Step 02: Lovable.dev will generate the site and code base after the prompt. If you need to make any changes, you can ask to update the website according to your needs.
Step 03: After the site is updated, you can publish it directly from Lovable.dev. It will also provide a domain from Lovable.
Step 04: Now, you can add any existing domain if you have one. Or you can buy a new domain according to availability and your needs.

Step 05: The site can also be published on GitHub. To do that, start by connecting Lovable with GitHub.

Step 06: In the next step, authorize lovable.dev to connect to GitHub.

Step 07: Now that GitHub is connected, click on manage in connected organizations to link the GitHub repos and publish your current project on GitHub.

Step 08: After executing the above steps to connect GitHub, you can see that the GitHub repo of your current project is connected and published on GitHub.

Step 09: Now, you can make changes directly from GitHub. You can also share and clone the repo to work locally and push and modify anything in the project.

Step 10: You can edit in VS Code or access the GitHub repository information from the lovable editor.
Step 11: After all the changes, the final preview is ready to be used and modified according to the website’s needs.
In conclusion, following this tutorial, we’ve successfully created a fully functional AI-focused blogging website using Lovable.dev. We constructed a visually appealing platform optimized for readability and user engagement, but we’ve also published our site live. We have also connected and published on Gitell to make things easier and more convenient. With these few steps, we now have a working website ready to be used.
The post A Step-by-Step Guide on Building, Customizing, and Publishing an AI-Focused Blogging Website with Lovable.dev and Seamless GitHub Integration appeared first on MarkTechPost.


