


![Apple Reorganizes Executive Team to Rescue Siri [Report]](https://www.iclarified.com/images/news/96777/96777/96777-640.jpg)


![[The AI Show Episode 139]: The Government Knows AGI Is Coming, Superintelligence Strategy, OpenAI’s $20,000 Per Month Agents & Top 100 Gen AI Apps](https://www.marketingaiinstitute.com/hubfs/ep%20139%20cover-2.png)


![[The AI Show Episode 138]: Introducing GPT-4.5, Claude 3.7 Sonnet, Alexa+, Deep Research Now in ChatGPT Plus & How AI Is Disrupting Writing](https://www.marketingaiinstitute.com/hubfs/ep%20138%20cover.png)


![What are good examples of 'preflight check patterns' on existing applications? [closed]](https://i.sstatic.net/yl2Tr80w.png)


![Release: Rendering Ranger: R² [Rewind]](https://images-3.gog-statics.com/48a9164e1467b7da3bb4ce148b93c2f92cac99bdaa9f96b00268427e797fc455.jpg)


Linux Fu: A Warp Speed Prompt
If you spend a lot of time at the command line, you probably have either a very basic prompt or a complex, information-dense prompt. If you are in the former …read more


If you spend a lot of time at the command line, you probably have either a very basic prompt or a complex, information-dense prompt. If you are in the former camp, or you just want to improve your shell prompt, have a look at Starship. It works on the most common shells on most operating systems, so you can use it everywhere you go, within reason. It has the advantage of being fast and you can also customize it all that you want.
What Does It Look Like?
It is hard to explain exactly what the Starship prompt looks like. First, you can customize it almost infinitely, so there’s that. Second, it adapts depending on where you are. So, for example, in a git-controlled directory, you get info about the git status unless you’ve turned that off. If you are in an ssh session, you’ll see different info than if you are logged in locally.
However, here’s a little animation from their site that will give you an idea of what you might expect:
Installation
The web site says you need a Nerd Font in your terminal. I didn’t remember doing that on purpose, but apparently I had one already.
Next, you just have to install using one of the methods they provide, which depends on your operating system. For Linux, you can run the installer:
curl -sS https://starship.rs/install.sh | sh
Sure, you should download it first and look to make sure it won’t reformat your hard drive or something, but it was fine when we did it.
Finally, you have to run an init command. How you do that depends on your shell and they have plenty of examples. There’s even a way to use it with cmd.exe on Windows!
Customization
The default isn’t bad but, of course, you are going to want to change things. Oddly, the system doesn’t create a default configuration file. It just behaves a certain way if it doesn’t find one. You must make your own ~/.config/starship.toml file. You can change where the file lives using an environment variable, if you prefer, but you still have to create it.
The TOML file format has sections like an INI file. Just be aware that any global options have to come before any section (that is, there’s no [global] tag). If you put things towards the bottom of the file, they won’t seem to work and it is because they have become part of the last tag.
There are a number of modules and each module reads data from a different section. For example, on my desktop I have no need for battery status so:
[battery]
disabled = true
Strings
In the TOML file you can use single or double quotes. You can also triple a quote to make a string break lines (but the line breaks are not part of the string). The single quotes are treated as a literal, while double quotes require escape characters for special things.
You can use variables in strings like $version or $git_branch. You can also place part of a string in brackets and then formating for the string in parenthesis immediately following. For example:
'[off](fg:red bold)'
Finally, you can have a variable print only if it exists:
'(#$id)'
If $id is empty, this does nothing. Otherwise, it will print the # and the value.
Globals and Modules
You can find all the configuration options — and there are many — in the Starship documentation. Of primary interest is the global format variable. This sets each module that is available. However, you can also use $all to get all the otherwise unspecified modules. By default, the format variable starts with $username $hostname. Suppose you wanted it to be different. You could write:
format='$hostname ! $username $all'
You’ll find many modules that show the programming language used for this directory, version numbers, and cloud information. You can shut things off, change formatting, or rearrange. Some user-submitted customizations are available, too. Can’t find a module to do what you want? No problem.
Super Custom
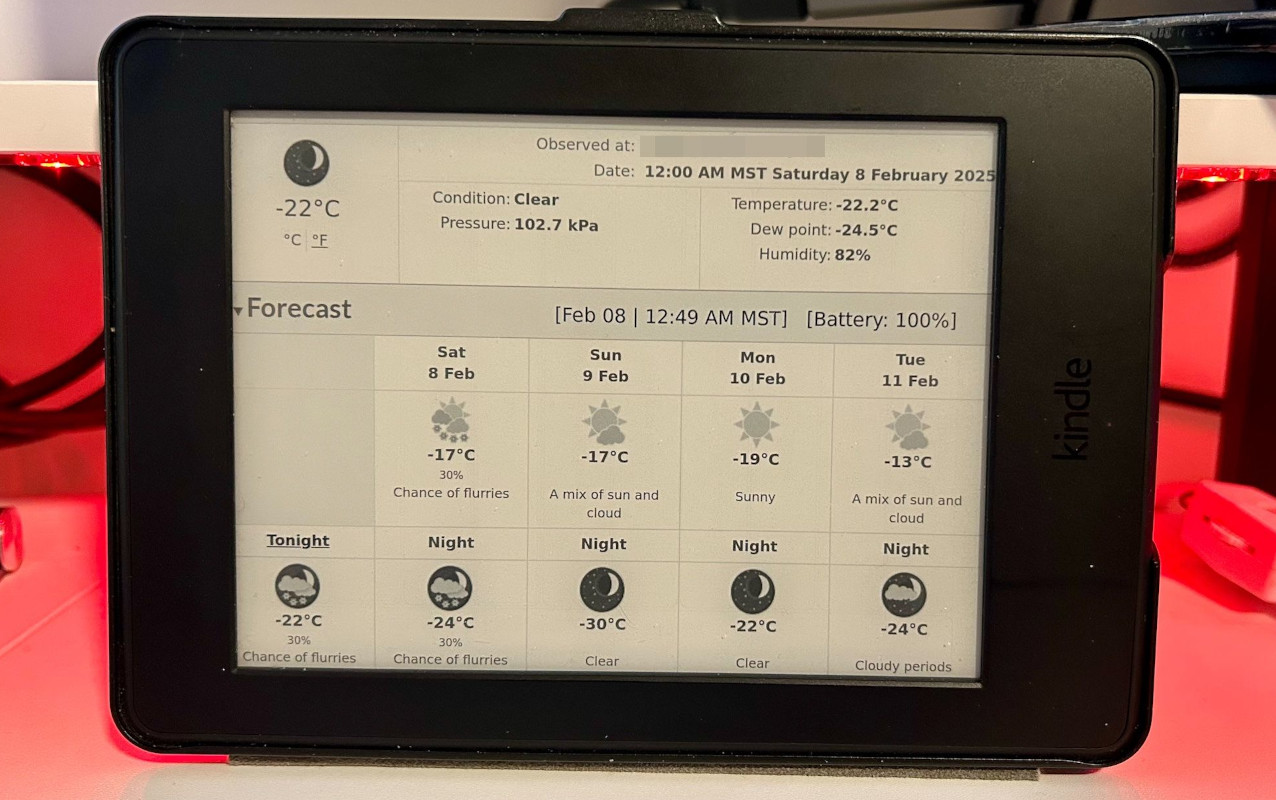
I wanted to show the status of my watercooler, so I created a custom section in the TOML file:
[custom.temp]
command = 'temp-status|grep temp|cut -d " " -f 7'
when = true
format='$output°'
The command output winds up in, obviously, $output. In this case, I always want the module to output and the format entry prints the output with a degree symbol after it. Easy!
Of Course, There are Always Others
There are other prompt helpers out there, especially if you use zsh (e.g., Oh My Zsh). However, if you aren’t on zsh, your options are more limited. Oh My Posh is another cross-shell entry into the field. Of course, you don’t absolutely need any of these. They work because shells give you variables like PS1 and PROMPT_COMMAND, so you can always roll your own to be as simple or complex as you like. People have been doing their own for a very long time.
If you want to do your own for bash, you can get some help online. Or, you could add help to bash, too.