


![Apple Watch Series 10 Prototype with Mystery Sensor Surfaces [Images]](https://www.iclarified.com/images/news/96892/96892/96892-640.jpg)

![Get Up to 69% Off Anker and Eufy Products on Final Day of Amazon's Big Spring Sale [Deal]](https://www.iclarified.com/images/news/96888/96888/96888-640.jpg)
![Apple Officially Releases macOS Sequoia 15.4 [Download]](https://www.iclarified.com/images/news/96887/96887/96887-640.jpg)


![What’s new in Android’s March 2025 Google System Updates [U: 3/31]](https://i0.wp.com/9to5google.com/wp-content/uploads/sites/4/2025/01/google-play-services-1.jpg?resize=1200%2C628&quality=82&strip=all&ssl=1)


-xl-xl.jpg)


![[The AI Show Episode 141]: Road to AGI (and Beyond) #1 — The AI Timeline is Accelerating](https://www.marketingaiinstitute.com/hubfs/ep%20141.1.png)
![[The AI Show Episode 140]: New AGI Warnings, OpenAI Suggests Government Policy, Sam Altman Teases Creative Writing Model, Claude Web Search & Apple’s AI Woes](https://www.marketingaiinstitute.com/hubfs/ep%20140%20cover.png)
![[The AI Show Episode 139]: The Government Knows AGI Is Coming, Superintelligence Strategy, OpenAI’s $20,000 Per Month Agents & Top 100 Gen AI Apps](https://www.marketingaiinstitute.com/hubfs/ep%20139%20cover-2.png)


![Is this a suitable approach to architect a flutter app? [closed]](https://i.sstatic.net/4hMHGb1L.png)
![Best practices for database design when storing AI/LLM conversations with tool/function calls? [closed]](https://cdn.sstatic.net/Sites/softwareengineering/Img/apple-touch-icon@2.png?v=1ef7363febba)


![From broke musician to working dev. How college drop-out Ryan Furrer taught himself to code [Podcast #166]](https://cdn.hashnode.com/res/hashnode/image/upload/v1743189826063/2080cde4-6fc0-46fb-b98d-b3d59841e8c4.png?#)


-1280x720.jpg?width=1920&height=1920&fit=bounds&quality=80&format=jpg&auto=webp#)


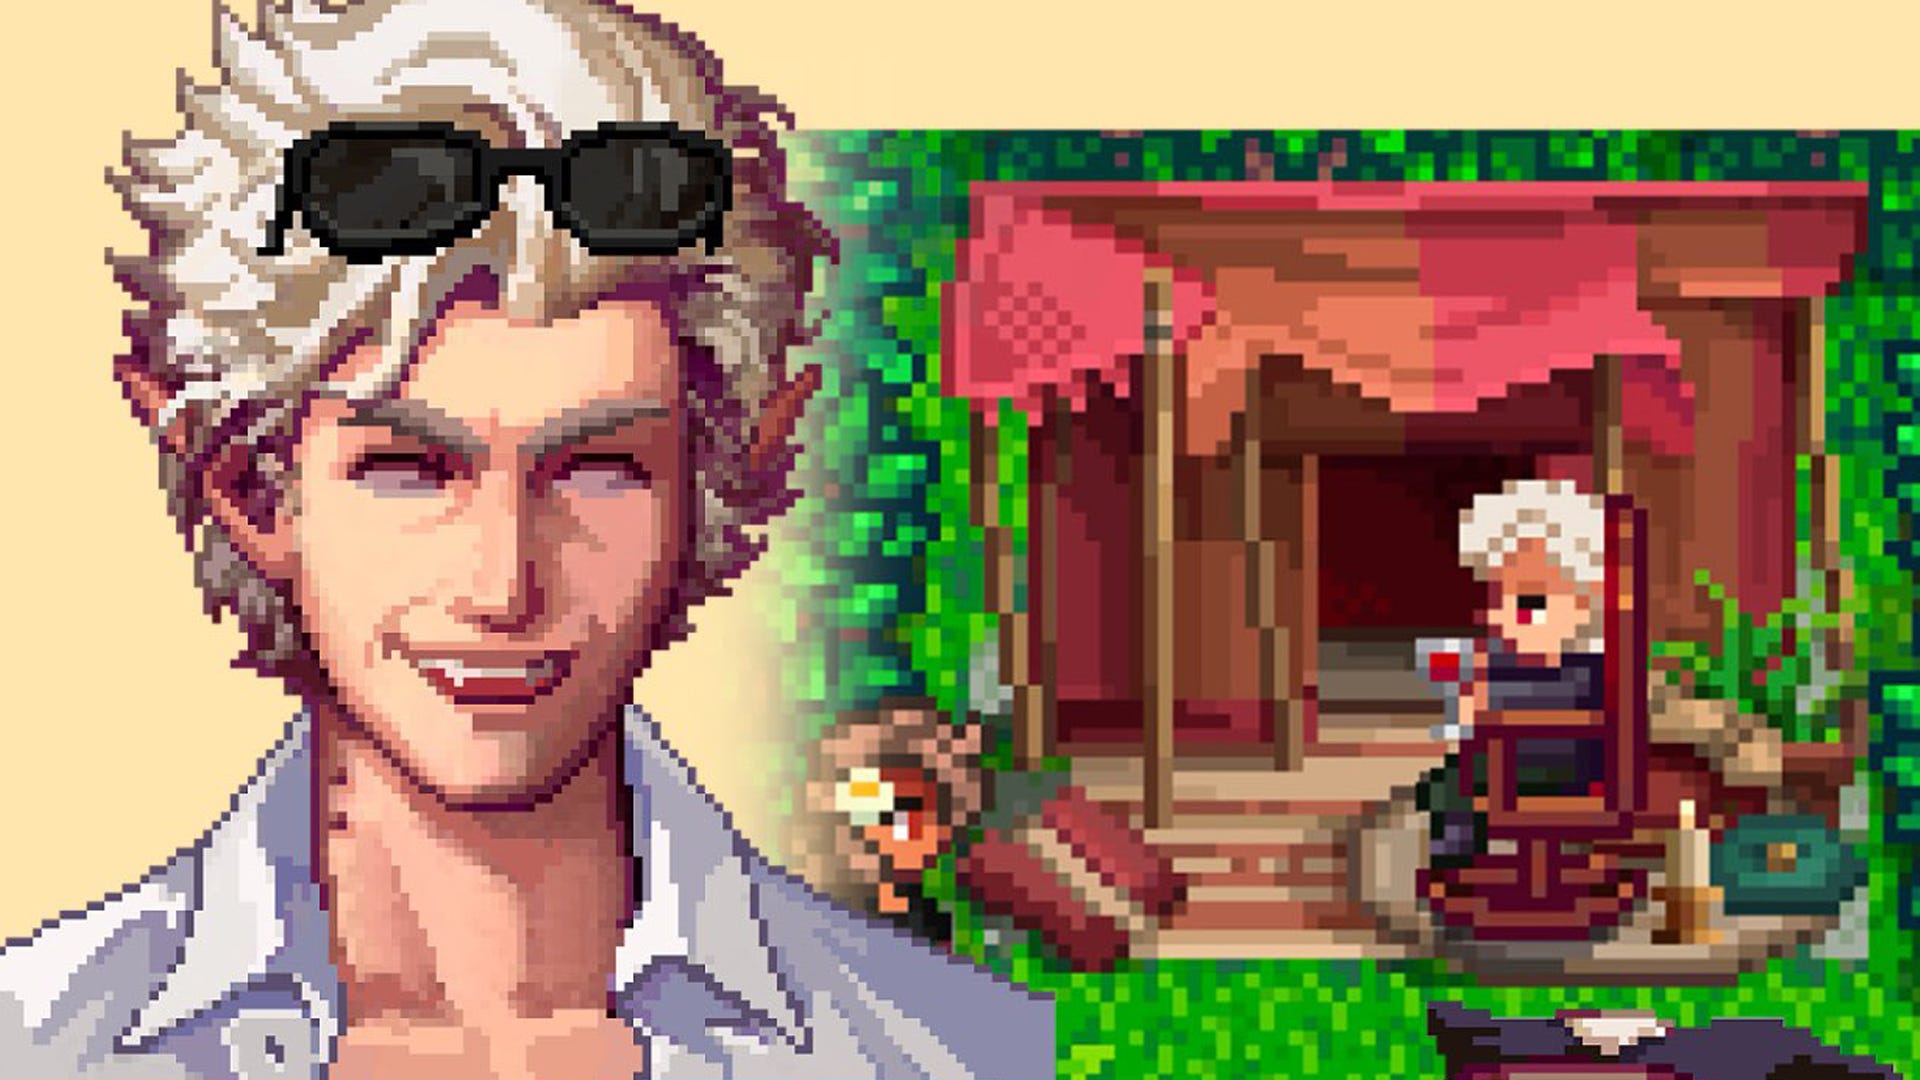
How to Make Your Own Studio Ghibli Art Generator Locally
Studio Ghibli’s magical worlds and hand-painted aesthetics have inspired artists worldwide. With advancements in AI, you can now generate Studio Ghibli-style art using Stable Diffusion on your own computer! This guide will show you how to set up a Studio Ghibli art generator locally on an M1/M2 Mac with Apple’s Metal (MPS) acceleration. Why Run It Locally? ✅ No internet required** – Your AI model runs on your computer. ✅ Faster performance** – Take full advantage of Apple’s Metal API. ✅ No API limits or fees** – Unlike online tools, you can generate unlimited art. ✅ More control** – Fine-tune results by adjusting model parameters. Step 1: Install Dependencies First, open Terminal and install the required Python libraries: pip install torch torchvision torchaudio --index-url https://download.pytorch.org/whl/cpu pip install diffusers transformers accelerate safetensors pillow tk Why these dependencies?** torch: Provides PyTorch’s machine learning framework. diffusers: Handles Stable Diffusion models. transformers: Enables text-to-image generation. pillow: Processes images. tk: Allows for an easy file upload interface. Step 2: Download a Studio Ghibli Model (Optional)** Stable Diffusion models trained specifically on Studio Ghibli aesthetics provide better results than the standard model. You can find one on CivitAI or Hugging Face. To use a custom model, download the .safetensors file and save it in a directory, e.g., ~/models/ghibli_model/. Step 3: Run the Studio Ghibli Art Generator** Save the following Python script as ghibli_generator.py: import torch import tkinter as tk from tkinter import filedialog from diffusers import StableDiffusionImg2ImgPipeline from PIL import Image # ✅ Set device to MPS (Apple Metal) for best performance device = "mps" if torch.backends.mps.is_available() else "cpu" # ✅ Load the Stable Diffusion model (Replace with Ghibli model path if needed) pipe = StableDiffusionImg2ImgPipeline.from_pretrained( "stabilityai/stable-diffusion-2-1", # Use a custom Ghibli model if available torch_dtype=torch.float32 ).to(device) # ✅ Open file dialog to select an image root = tk.Tk() root.withdraw() file_path = filedialog.askopenfilename(title="Select an image", filetypes=[("Image files", "*.png;*.jpg;*.jpeg")]) if not file_path: print("❌ No file selected. Exiting...") exit() # ✅ Load the user-selected image init_image = Image.open(file_path).convert("RGB").resize((512, 512)) # ✅ Define the AI transformation prompt prompt = "A beautiful Studio Ghibli-style landscape with vibrant colors and soft lighting" # ✅ Generate AI-modified image generator = torch.manual_seed(42) output_image = pipe( prompt=prompt, image=init_image, strength=0.75, # Higher means more AI influence guidance_scale=7.5 # Controls how closely AI follows the prompt ).images[0] # ✅ Save and show the generated image output_image.save("ghibli_output.png") output_image.show() print("✅ Image saved as ghibli_output.png") Step 4: Run the Script** Once the script is saved, open Terminal, navigate to the folder, and run: python ghibli_generator.py How It Works: A file selection dialog will open—choose an image. The AI will modify the image in Studio Ghibli’s art style. The generated image will be saved as ghibli_output.png. The result will open automatically for preview. Step 5: Fine-Tune the AI Output** Here are some tweaks you can make to get the perfect Ghibli-style output:
Studio Ghibli’s magical worlds and hand-painted aesthetics have inspired artists worldwide. With advancements in AI, you can now generate Studio Ghibli-style art using Stable Diffusion on your own computer! This guide will show you how to set up a Studio Ghibli art generator locally on an M1/M2 Mac with Apple’s Metal (MPS) acceleration.
Why Run It Locally?
✅ No internet required** – Your AI model runs on your computer.
✅ Faster performance** – Take full advantage of Apple’s Metal API.
✅ No API limits or fees** – Unlike online tools, you can generate unlimited art.
✅ More control** – Fine-tune results by adjusting model parameters.
Step 1: Install Dependencies
First, open Terminal and install the required Python libraries:
pip install torch torchvision torchaudio --index-url https://download.pytorch.org/whl/cpu
pip install diffusers transformers accelerate safetensors pillow tk
Why these dependencies?**
-
torch: Provides PyTorch’s machine learning framework. -
diffusers: Handles Stable Diffusion models. -
transformers: Enables text-to-image generation. -
pillow: Processes images. -
tk: Allows for an easy file upload interface.
Step 2: Download a Studio Ghibli Model (Optional)**
Stable Diffusion models trained specifically on Studio Ghibli aesthetics provide better results than the standard model. You can find one on CivitAI or Hugging Face.
To use a custom model, download the .safetensors file and save it in a directory, e.g., ~/models/ghibli_model/.
Step 3: Run the Studio Ghibli Art Generator**
Save the following Python script as ghibli_generator.py:
import torch
import tkinter as tk
from tkinter import filedialog
from diffusers import StableDiffusionImg2ImgPipeline
from PIL import Image

# ✅ Set device to MPS (Apple Metal) for best performance
device = "mps" if torch.backends.mps.is_available() else "cpu"

# ✅ Load the Stable Diffusion model (Replace with Ghibli model path if needed)
pipe = StableDiffusionImg2ImgPipeline.from_pretrained(
    "stabilityai/stable-diffusion-2-1",  # Use a custom Ghibli model if available
    torch_dtype=torch.float32
).to(device)

# ✅ Open file dialog to select an image
root = tk.Tk()
root.withdraw()
file_path = filedialog.askopenfilename(title="Select an image", filetypes=[("Image files", "*.png;*.jpg;*.jpeg")])

if not file_path:
    print("❌ No file selected. Exiting...")
    exit()

# ✅ Load the user-selected image
init_image = Image.open(file_path).convert("RGB").resize((512, 512))

# ✅ Define the AI transformation prompt
prompt = "A beautiful Studio Ghibli-style landscape with vibrant colors and soft lighting"

# ✅ Generate AI-modified image
generator = torch.manual_seed(42)
output_image = pipe(
    prompt=prompt,
    image=init_image,
    strength=0.75,  # Higher means more AI influence
    guidance_scale=7.5  # Controls how closely AI follows the prompt
).images[0]

# ✅ Save and show the generated image
output_image.save("ghibli_output.png")
output_image.show()
print("✅ Image saved as ghibli_output.png")
Step 4: Run the Script**
Once the script is saved, open Terminal, navigate to the folder, and run:
python ghibli_generator.py
How It Works:
- A file selection dialog will open—choose an image.
- The AI will modify the image in Studio Ghibli’s art style.
- The generated image will be saved as
ghibli_output.png. - The result will open automatically for preview.
Step 5: Fine-Tune the AI Output**
Here are some tweaks you can make to get the perfect Ghibli-style output: