


![Apple to Craft Key Foldable iPhone Components From Liquid Metal [Kuo]](https://www.iclarified.com/images/news/96784/96784/96784-640.jpg)

![Apple to Focus on Battery Life and Power Efficiency in Future Premium Devices [Rumor]](https://www.iclarified.com/images/news/96781/96781/96781-640.jpg)


_Federico_Caputo_Alamy.jpg?#)


![[The AI Show Episode 139]: The Government Knows AGI Is Coming, Superintelligence Strategy, OpenAI’s $20,000 Per Month Agents & Top 100 Gen AI Apps](https://www.marketingaiinstitute.com/hubfs/ep%20139%20cover-2.png)


![[The AI Show Episode 138]: Introducing GPT-4.5, Claude 3.7 Sonnet, Alexa+, Deep Research Now in ChatGPT Plus & How AI Is Disrupting Writing](https://www.marketingaiinstitute.com/hubfs/ep%20138%20cover.png)


.jpg?width=1920&height=1920&fit=bounds&quality=80&format=jpg&auto=webp#)


Setting up a pentest lab with an Android Phone and Kali Linux
Hello, world—coders, tinkerers, and the curious: this article was written for you. Without further ado, this article will guide you step by step in building a pentest lab for the OWASP Top 10 using an Android phone and Kali Linux (although you can choose any OS you want; I won't be covering the alternatives here). But first, some introductions. My name is Lucas, I'm a software developer and cybersecurity enthusiast based in Brazil. That's about it. Let's dive into some theory and practice, shall we? What is OWASP Top 10? The OWASP Top 10 is a list published by the Open Web Application Security Project (OWASP), a nonprofit organization focused on improving software security. It identifies the ten most critical security risks to web applications, based on data from real-world vulnerabilities and input from security experts. The list is updated periodically—typically every few years—to reflect evolving threats. The latest official version is from 2021, but a 2025 update is in progress, expected to be released in the first half of 2025, according to OWASP’s announced timeline. You can learn more by checking the OWASP Foundation website Why an Android Phone? Because we can. You might have your own reasons for this, such as owning a low-end PC, wanting a mobile application you can carry in your pocket, or even using a notebook in a coffee shop to hack into it just to look cool. However, if you have a good PC, you could host both the attacking machine and the victim application on it. This is just for fun. What we will be using today? For this tutorial, I'll be using my personal PC, running a virtualized instance of Kali Linux, and a Samsung Galaxy A23 with Termux installed to host the web application that we will attack. The Samsung Galaxy will run an Apache server that serves DVWA (Damn Vulnerable Web App), an application intentionally built with security flaws so we can practice pentesting in a realistic setting. Setup Okay, here comes the fun part. First of all, we will install Termux (an app) on the phone. Termux lets you virtualize a Linux subsystem without root (with some limitations, of course). So, we will go to the Play Store and install Termux. You can get it here With Termux installed and opened on your phone, you should see a screen like the one below: Now we will type some commands in Termux to update the system and install the dependencies we need for this project. First, run: pkg update && pkg upgrade Wait for the installation to finish. If prompted in your terminal, type Y to allow Termux to use the phone's storage to download the dependencies. (This will be required for any command we run in this tutorial. Just accept and let it proceed.) After that, we will install MySQL, PHP, Apache2, and VIM: pkg install apache2 php-apache mariadb wget vim Wait for the installation to complete, and then move on to the next step: configuring Apache to run our PHP code. vim $PREFIX/etc/apache2/httpd.conf In VIM, you can scroll through the file using the arrow keys on your Termux keyboard. Scroll down until you see several lines that start with LoadModule. Enter insert mode by pressing I on your keyboard and add the following line among the other LoadModule directives: LoadModule php_module /data/data/com.termux/files/usr/libexec/apache2/libphp.so Also, uncomment (i.e., remove the # and any preceding whitespaces) the line containing LoadModule mpm_prefork_module libexec/apache2/mod_mpm_prefork.so Finally, before the LoadModule lines, you should see a Listen directive followed by an IP address. Change it to: Listen 0.0.0.0:8080 Press ESC to exit insert mode, then navigate to the end of the file. Once there, press I again to enter insert mode and add the following lines above the Include etc/apache2/conf.d/*.conf directive: SetHandler application/x-httpd-php DirectoryIndex index.php index.html Make sure there are no leading whitespaces before any of the tags; otherwise, it will fail. It should look like this: Press ESC in Termux and type :wq to save and exit. You should now be back in the terminal. Next, let's test the Apache server by running: apachectl start. If you see a warning about ServerName don't worry about it. Now let's test if PHP is correctly configured in Apache by running echo "" > $PREFIX/share/apache2/default-site/htdocs/test.php curl http://127.0.0.1:8080/test.php You should see only PHP is working. If you see the PHP code itself, Apache is not processing PHP correctly. Verify the previous steps to ensure everything is correctly configured. Stop Apache for now by running: apachectl stop. Downloading and configuring DVWA The first step to set up DVWA correctly is to create a database in MySQL so it can work as intended. Let's run MySQL in the background: mysqld_safe & The & at the end ensures the process runs in the background. Next, let's d
Hello, world—coders, tinkerers, and the curious: this article was written for you. Without further ado, this article will guide you step by step in building a pentest lab for the OWASP Top 10 using an Android phone and Kali Linux (although you can choose any OS you want; I won't be covering the alternatives here).
But first, some introductions. My name is Lucas, I'm a software developer and cybersecurity enthusiast based in Brazil. That's about it. Let's dive into some theory and practice, shall we?
What is OWASP Top 10?
The OWASP Top 10 is a list published by the Open Web Application Security Project (OWASP), a nonprofit organization focused on improving software security. It identifies the ten most critical security risks to web applications, based on data from real-world vulnerabilities and input from security experts. The list is updated periodically—typically every few years—to reflect evolving threats. The latest official version is from 2021, but a 2025 update is in progress, expected to be released in the first half of 2025, according to OWASP’s announced timeline. You can learn more by checking the OWASP Foundation website
Why an Android Phone?
Because we can. You might have your own reasons for this, such as owning a low-end PC, wanting a mobile application you can carry in your pocket, or even using a notebook in a coffee shop to hack into it just to look cool. However, if you have a good PC, you could host both the attacking machine and the victim application on it. This is just for fun.
What we will be using today?
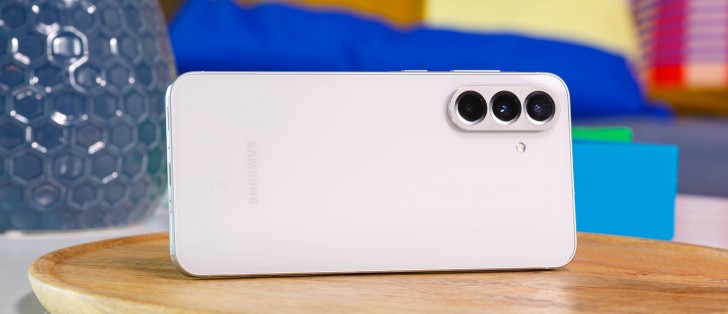
For this tutorial, I'll be using my personal PC, running a virtualized instance of Kali Linux, and a Samsung Galaxy A23 with Termux installed to host the web application that we will attack. The Samsung Galaxy will run an Apache server that serves DVWA (Damn Vulnerable Web App), an application intentionally built with security flaws so we can practice pentesting in a realistic setting.
Setup
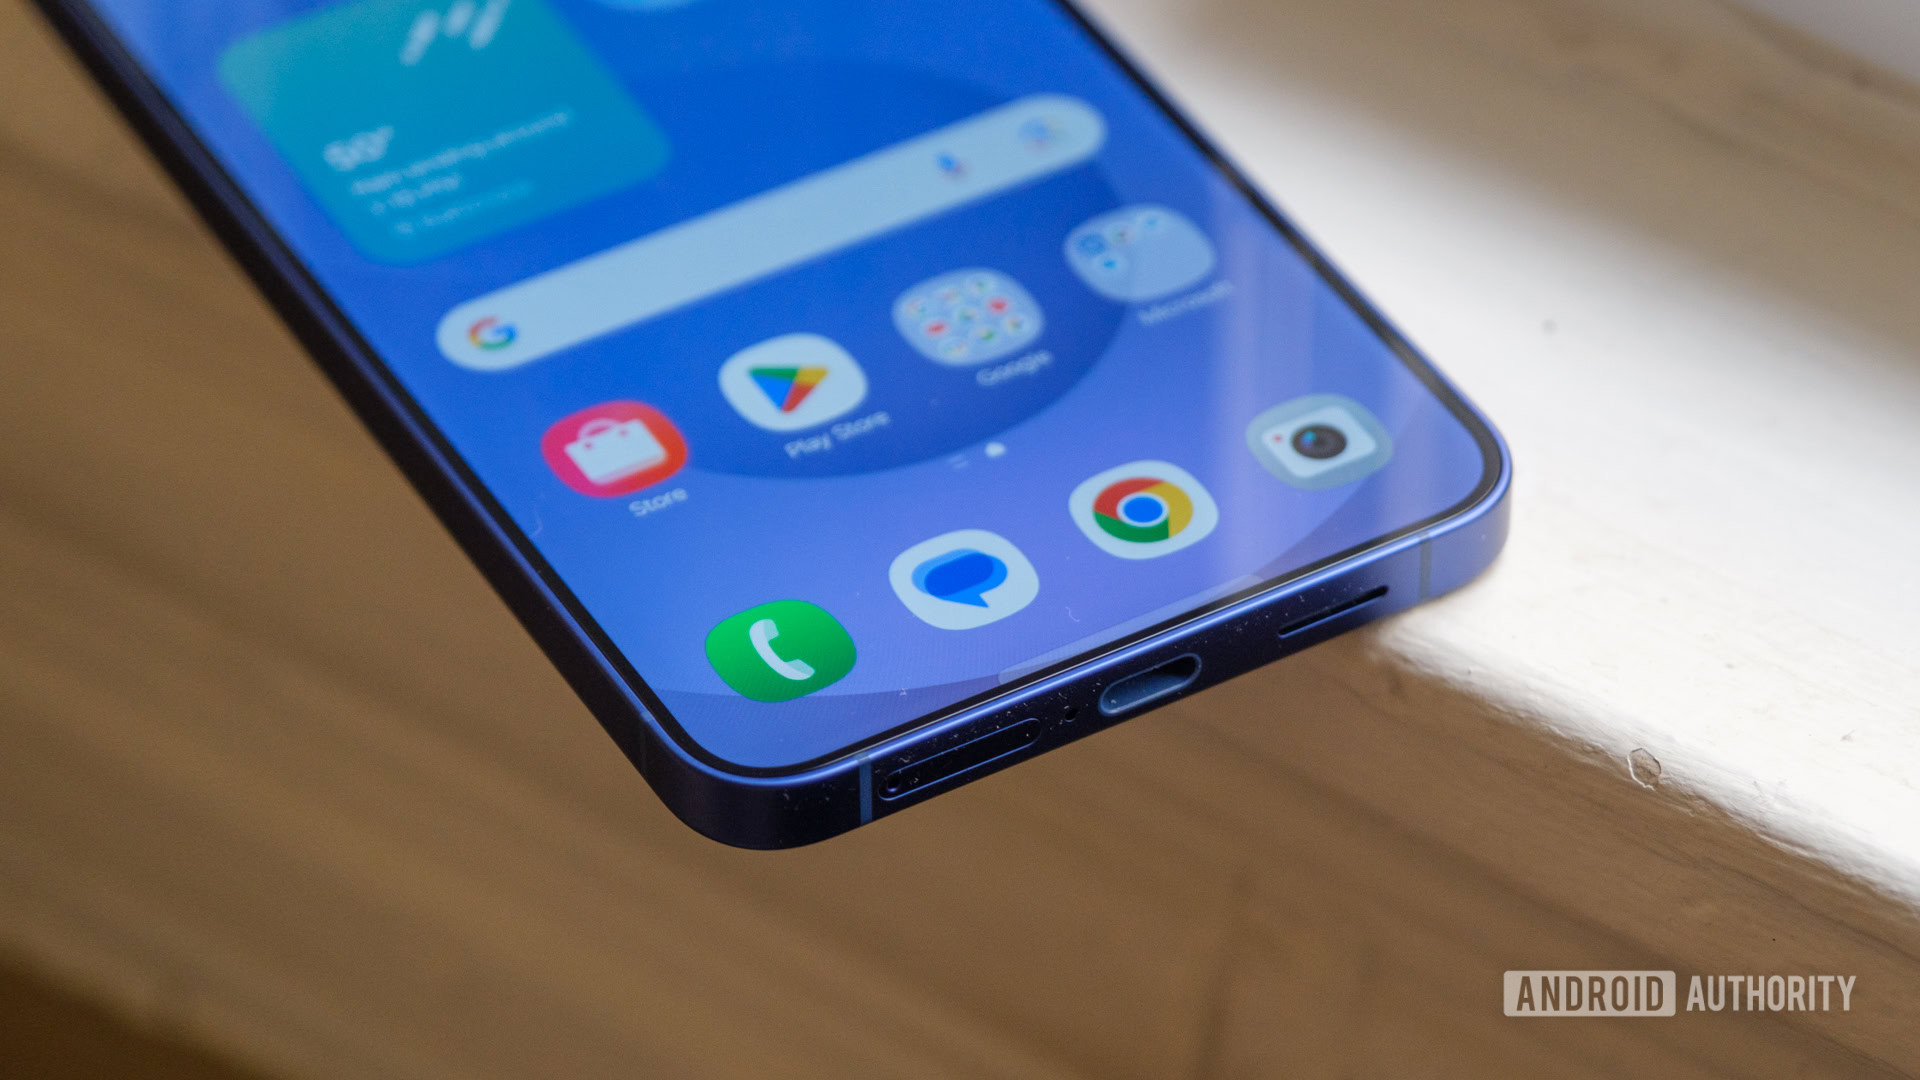
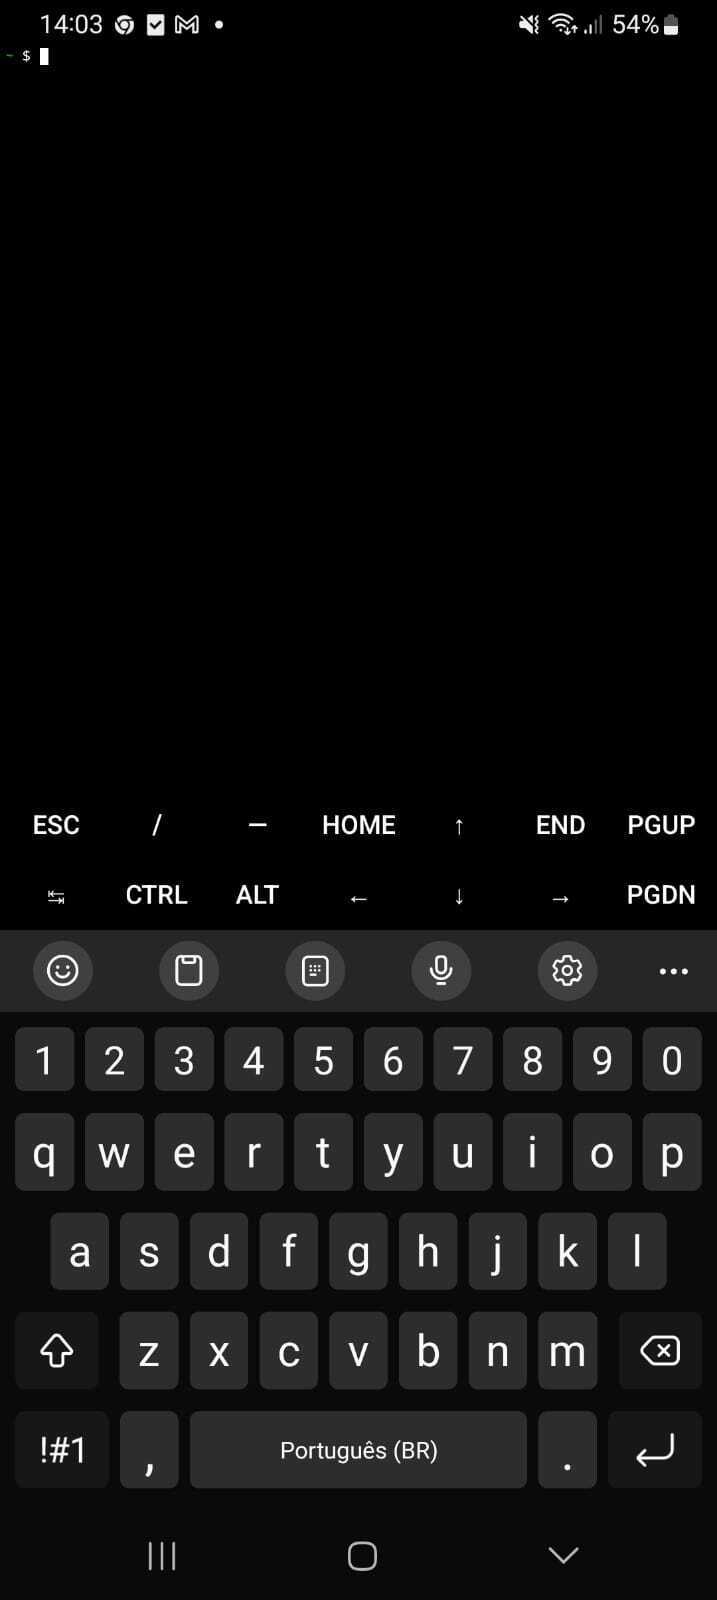
Okay, here comes the fun part. First of all, we will install Termux (an app) on the phone. Termux lets you virtualize a Linux subsystem without root (with some limitations, of course). So, we will go to the Play Store and install Termux. You can get it here
With Termux installed and opened on your phone, you should see a screen like the one below:
Now we will type some commands in Termux to update the system and install the dependencies we need for this project. First, run:
pkg update && pkg upgrade
Wait for the installation to finish. If prompted in your terminal, type Y to allow Termux to use the phone's storage to download the dependencies. (This will be required for any command we run in this tutorial. Just accept and let it proceed.)
After that, we will install MySQL, PHP, Apache2, and VIM:
pkg install apache2 php-apache mariadb wget vim
Wait for the installation to complete, and then move on to the next step: configuring Apache to run our PHP code.
vim $PREFIX/etc/apache2/httpd.conf
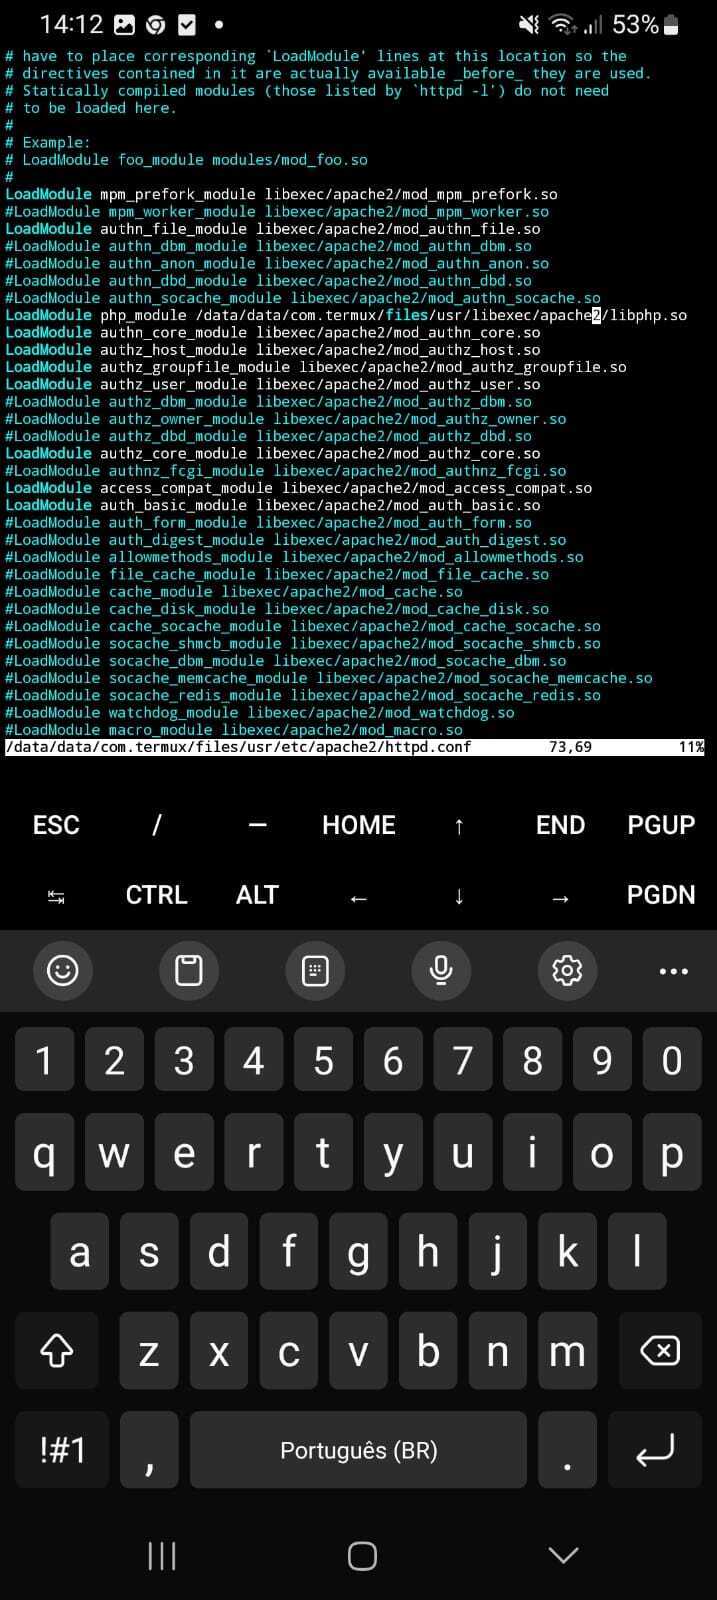
In VIM, you can scroll through the file using the arrow keys on your Termux keyboard. Scroll down until you see several lines that start with LoadModule. Enter insert mode by pressing I on your keyboard and add the following line among the other LoadModule directives:
LoadModule php_module /data/data/com.termux/files/usr/libexec/apache2/libphp.so
Also, uncomment (i.e., remove the # and any preceding whitespaces) the line containing
LoadModule mpm_prefork_module libexec/apache2/mod_mpm_prefork.so
Finally, before the LoadModule lines, you should see a Listen directive followed by an IP address. Change it to:
Listen 0.0.0.0:8080
Press ESC to exit insert mode, then navigate to the end of the file. Once there, press I again to enter insert mode and add the following lines above the Include etc/apache2/conf.d/*.conf directive:
 \.php$>
    SetHandler application/x-httpd-php


 dir_module>
    DirectoryIndex index.php index.html
Make sure there are no leading whitespaces before any of the tags; otherwise, it will fail. It should look like this:

Press ESC in Termux and type :wq to save and exit. You should now be back in the terminal. Next, let's test the Apache server by running: apachectl start. If you see a warning about ServerName don't worry about it.
Now let's test if PHP is correctly configured in Apache by running
echo "" > $PREFIX/share/apache2/default-site/htdocs/test.php
curl http://127.0.0.1:8080/test.php
You should see only PHP is working. If you see the PHP code itself, Apache is not processing PHP correctly. Verify the previous steps to ensure everything is correctly configured.
Stop Apache for now by running: apachectl stop.
Downloading and configuring DVWA
The first step to set up DVWA correctly is to create a database in MySQL so it can work as intended. Let's run MySQL in the background:
mysqld_safe &
The & at the end ensures the process runs in the background.
Next, let's download DVWA and place it in Apache's directory so that we can serve it over port 8080:
cd $PREFIX/share/apache2/default-site/htdocs/
wget https://github.com/digininja/DVWA/archive/master.zip -O dvwa.zip
unzip dvwa.zip
mv DVWA-master dvwa
We changed directories to place the DVWA files in Apache's directory. The second command downloads the file, the third command unzips it, and finally, we rename the folder to make it easier to access the URL (instead of having to access localhost:8080/DVWA-master, you can use localhost:8080/dvwa).
Let's also rename the DVWA config file so it works with Apache:
cd dvwa/config/
mv config.inc.php.dist config.inc.php
We will configure the MySQL database with default values. If you want to change them, use VIM to modify the config file you just renamed.
Run:
mysql -u root
You should now be in the SQL terminal. From here, we will create a database, set up a user and password, and finally grant privileges to the user. Run:
CREATE DATABASE dvwa;
CREATE USER 'dvwa'@'localhost' IDENTIFIED BY 'p@ssw0rd';
GRANT ALL PRIVILEGES ON dvwa.* TO 'dvwa'@'localhost';
FLUSH PRIVILEGES;
After executing these commands, type exit to leave the SQL terminal. Now, restart Apache with apachectl start
DVWA should now be accessible from your network (ensure that the machines are on the same network). On your Android phone, go to Settings, then Connections or Wi-Fi. Click the gear icon next to your Wi-Fi connection. Scroll down until you find your IP address. Then, type
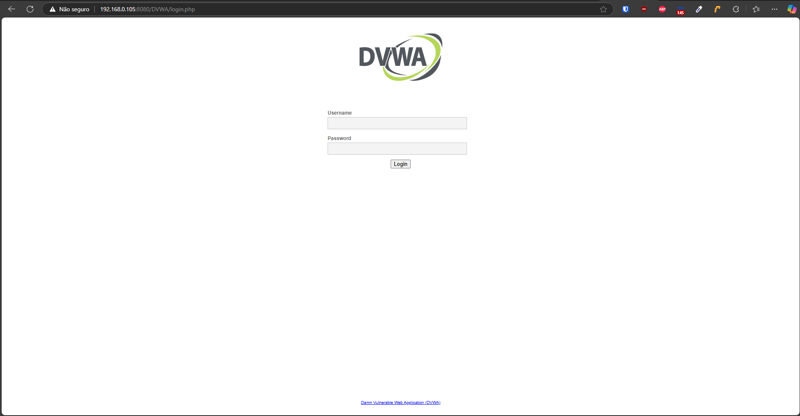
DVWA is now configured and running on your Android phone! To stop it, simply run apachectl stop; to start it again, run apachectl start.
Download and setup Kali Linux
For this tutorial, I will virtualize a Kali Linux machine using VirtualBox. There are several ways to run Kali Linux; if you have more experience and want to use a different method, feel free to do so. Just remember that both Kali and the Android phone should be on the same network. If you use a VPS to run Kali, you could install Tailscale on both Android and Kali Linux so they are on the same network, for example. That being said, let's proceed!
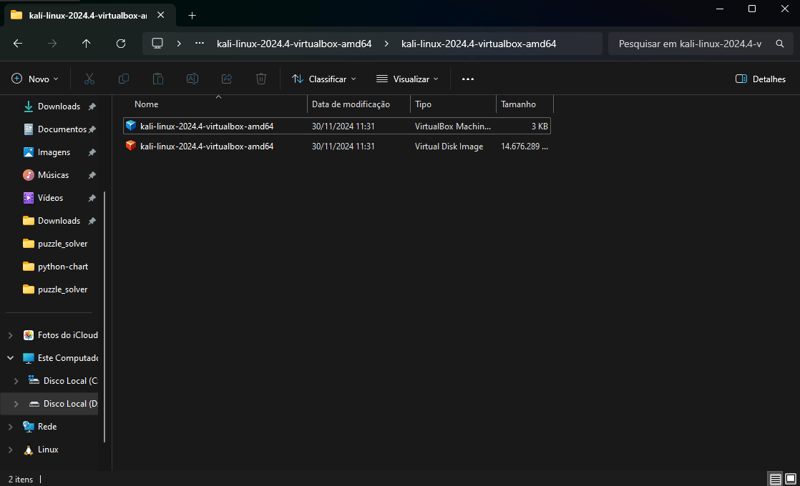
Download VirtualBox and run the installer. Also, download the virtual machines files from Kali Linux. Extract the files from the Kali Linux download to your desired location, and double-click the Kali Virtual Image (the first file in the screenshot):
This should open the VirtualBox interface with the Kali Linux machine:
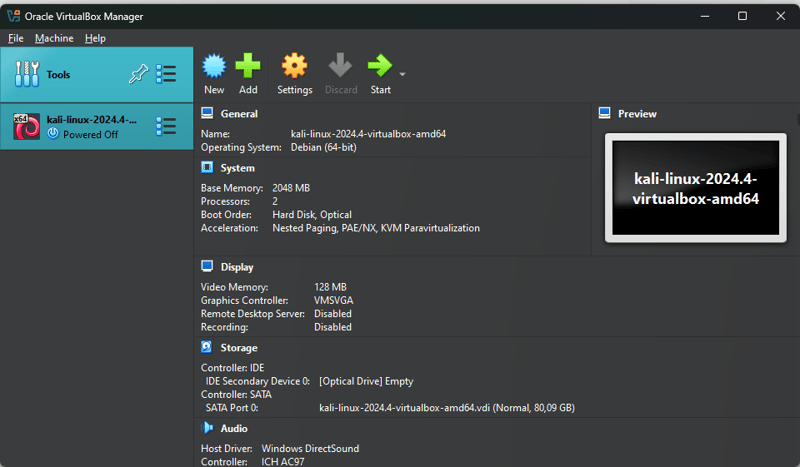
Now, we will configure our virtual machine. Kali requires at least 2GB of RAM to run, but if you have more available, you can allocate additional RAM for a smoother experience. The same applies to processor cores (you can allocate half of your available cores if desired) and video RAM.
Right click in the Kali Linux machine in the VirtualBox interface and select Settings:
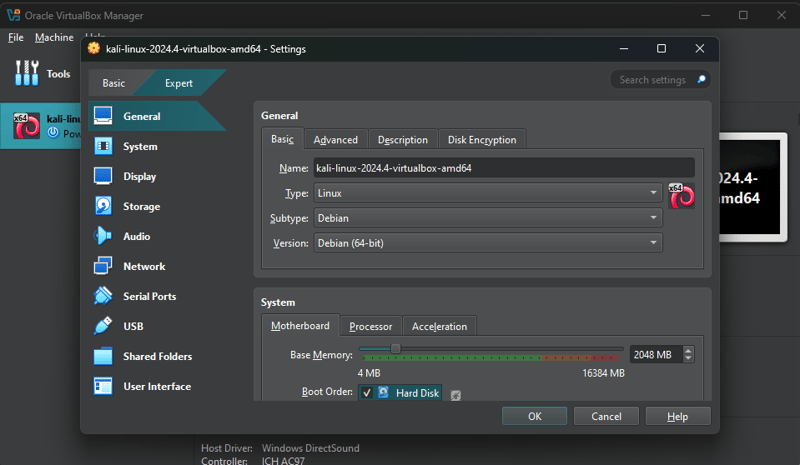
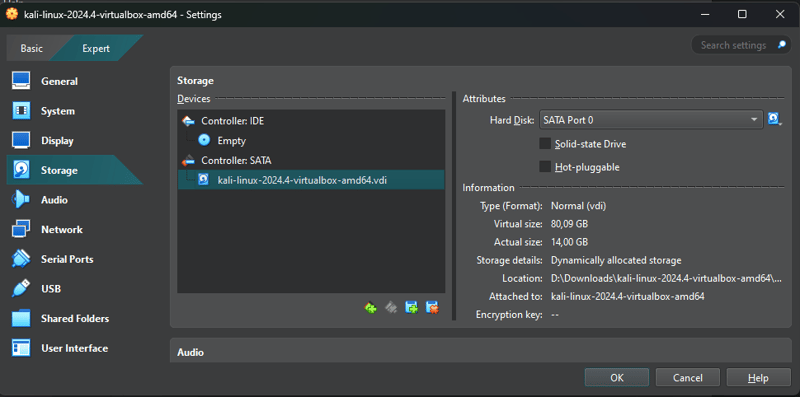
Go to the Storage section and ensure that the virtual disk included with the image is properly configured:
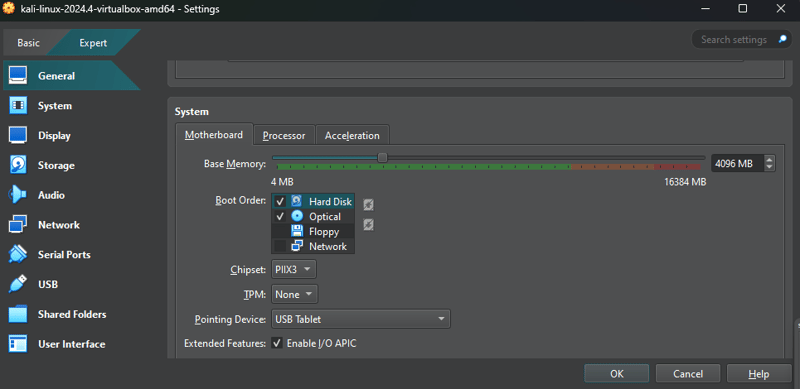
Next, go to the **System **tab and allocate more RAM. It already comes with 2GB, but I set it to 4GB for a smoother experience:
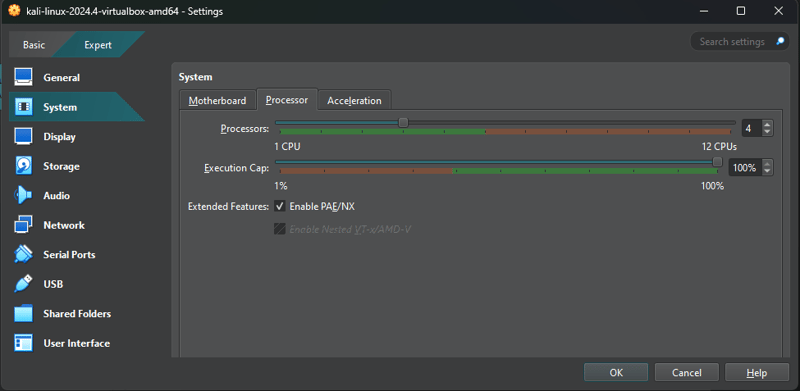
Then, go to the **Processor **tab and adjust the number of cores if desired. It comes with one core by default, but I assigned 4. Ensure that Enable PAE/NX is checked:
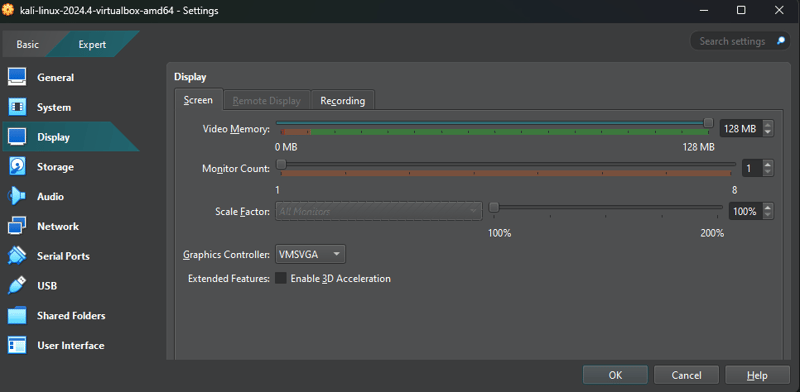
Next, go to the Display tab and allocate video RAM. I set it to 128MB to avoid any visual glitches:
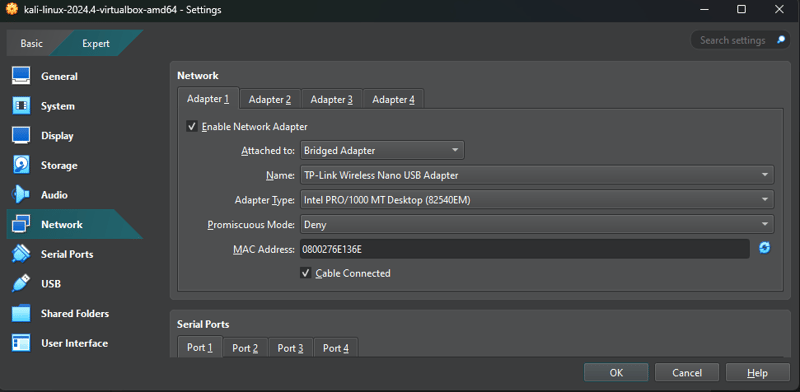
Lastly go to Network and select the Adapter 1 and change where is written Attached to to Bridged Network. This will ensure Kali Linux and the Android Phone are in the same network:
Now you can save the settings and run the machine. Wait a while and the login screen will show. The user is kali and the password is also kali. Log in, and you will see that Kali is now running.
Now you can access the DVWA url (
Happy Hacking :)