Practicing Vibe Coding with Cursor
If you haven’t organized your thoughts or content in advance and simply give an LLM a one-line prompt asking it to implement your requirements, you’ll most likely end up with results that don’t meet your expectations. While people turn to AI for vibe coding in hopes of convenience and efficiency, there’s a paradox: to get good results, you still need to describe your requirements with a certain degree of precision. Only then can the AI accurately implement the features you want. However, if your descriptions are too precise, it can feel counterintuitive-if you’re specifying everything in detail, why not just implement it yourself? So, the real challenge is finding the right balance: how do you describe requirements precisely enough for the AI to deliver, but still keep the process natural and human-friendly? Through my experience, the best approach is to create a devdocs directory in your project, breaking down features into independent logical modules. Then, let the AI implement each feature based on these descriptions. For example, suppose I want to add a feature to my site https://veo2.zone that grants 1 free credit to new registered users. I would create a file like devdocs/addOneFreeTry.md with the following content: 20250429 Add one free video generation for free users 1. When a user is not logged in and clicks the generate video button, open the login window to prompt the user to log in. 2. After the user logs in, restore the prompt filled by the user, as well as the selected Quality, Aspect Ratio, Duration, etc. to the state before login. Then, in Cursor, I’d chat with the AI and ask it to implement this feature according to the description. The resulting code usually matches the requirements quite well. If, the next day, you have new improvements or need to fix bugs, you can simply add to the same file: 20250430 When a user clicks the generate video button and the system determines that the user doesn't have enough credits: 1. Display a popup notification that matches the page's theme style, informing the user that they don't have enough credits. Show an orange button "Get Credits" which, when clicked, opens the pricing component as a modal on the current page. 2. For the pricing component display in the modal, refer to src/app/[locale]/pricing/page.tsx. The pricing modal should have a close button. This approach allows you to keep a record of all your key vibe coding conversations, ensuring your project doesn’t descend into chaos as the AI continues making changes. It also makes it easier to track the evolution of your requirements and the corresponding implementations. If you’d like to see it in action, feel free to try it out at https://veo2.zone.
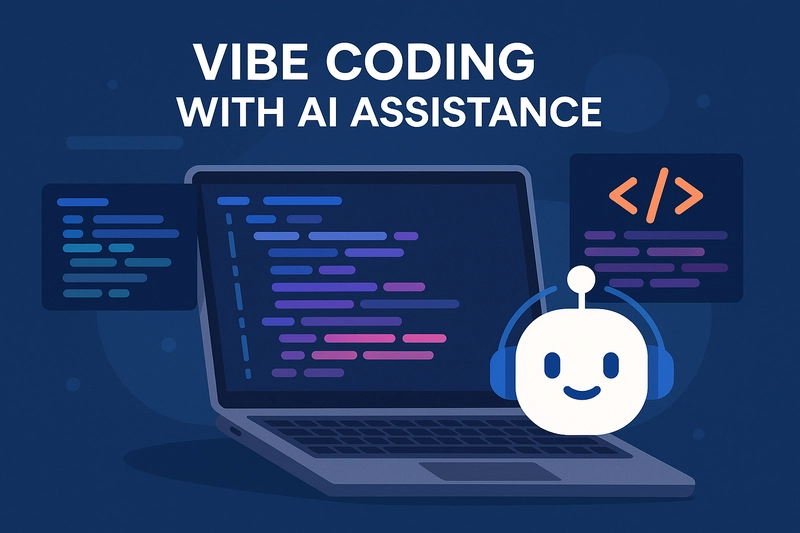

If you haven’t organized your thoughts or content in advance and simply give an LLM a one-line prompt asking it to implement your requirements, you’ll most likely end up with results that don’t meet your expectations. While people turn to AI for vibe coding in hopes of convenience and efficiency, there’s a paradox: to get good results, you still need to describe your requirements with a certain degree of precision. Only then can the AI accurately implement the features you want.
However, if your descriptions are too precise, it can feel counterintuitive-if you’re specifying everything in detail, why not just implement it yourself? So, the real challenge is finding the right balance: how do you describe requirements precisely enough for the AI to deliver, but still keep the process natural and human-friendly?
Through my experience, the best approach is to create a devdocs directory in your project, breaking down features into independent logical modules. Then, let the AI implement each feature based on these descriptions.
For example, suppose I want to add a feature to my site https://veo2.zone that grants 1 free credit to new registered users. I would create a file like devdocs/addOneFreeTry.md with the following content:
20250429

Add one free video generation for free users

1. When a user is not logged in and clicks the generate video button, open the login window to prompt the user to log in.
2. After the user logs in, restore the prompt filled by the user, as well as the selected Quality, Aspect Ratio, Duration, etc. to the state before login.
Then, in Cursor, I’d chat with the AI and ask it to implement this feature according to the description. The resulting code usually matches the requirements quite well.
If, the next day, you have new improvements or need to fix bugs, you can simply add to the same file:
20250430

When a user clicks the generate video button and the system determines that the user doesn't have enough credits:

1. Display a popup notification that matches the page's theme style, informing the user that they don't have enough credits. Show an orange button "Get Credits" which, when clicked, opens the pricing component as a modal on the current page.
2. For the pricing component display in the modal, refer to src/app/[locale]/pricing/page.tsx. The pricing modal should have a close button.
This approach allows you to keep a record of all your key vibe coding conversations, ensuring your project doesn’t descend into chaos as the AI continues making changes. It also makes it easier to track the evolution of your requirements and the corresponding implementations.
If you’d like to see it in action, feel free to try it out at https://veo2.zone.



















![Apple Developing Battery Case for iPhone 17 Air Amid Battery Life Concerns [Report]](https://www.iclarified.com/images/news/97208/97208/97208-640.jpg)
![Apple to Split iPhone Launches Across Fall and Spring in Major Shakeup [Report]](https://www.iclarified.com/images/news/97211/97211/97211-640.jpg)
![Apple to Move Camera to Top Left, Hide Face ID Under Display in iPhone 18 Pro Redesign [Report]](https://www.iclarified.com/images/news/97212/97212/97212-640.jpg)
![AirPods 4 On Sale for $99 [Lowest Price Ever]](https://www.iclarified.com/images/news/97206/97206/97206-640.jpg)










_Inge_Johnsson-Alamy.jpg?width=1280&auto=webp&quality=80&disable=upscale#)


















![[The AI Show Episode 145]: OpenAI Releases o3 and o4-mini, AI Is Causing “Quiet Layoffs,” Executive Order on Youth AI Education & GPT-4o’s Controversial Update](https://www.marketingaiinstitute.com/hubfs/ep%20145%20cover.png)





















![From Art School Drop-out to Microsoft Engineer with Shashi Lo [Podcast #170]](https://cdn.hashnode.com/res/hashnode/image/upload/v1746203291209/439bf16b-c820-4fe8-b69e-94d80533b2df.png?#)

![[FREE EBOOKS] Learn Computer Forensics — 2nd edition, AI and Business Rule Engines for Excel Power Users & Four More Best Selling Titles](https://www.javacodegeeks.com/wp-content/uploads/2012/12/jcg-logo.jpg)


