


![Apple's M5 iPad Pro Enters Advanced Testing for 2025 Launch [Gurman]](https://www.iclarified.com/images/news/96865/96865/96865-640.jpg)
![M5 MacBook Pro Set for Late 2025, Major Redesign Waits Until 2026 [Gurman]](https://www.iclarified.com/images/news/96868/96868/96868-640.jpg)
![Apple to Revamp Health App with AI-Powered Doctor [Gurman]](https://www.iclarified.com/images/news/96870/96870/96870-640.jpg)


![What Google Messages features are rolling out [March 2025]](https://i0.wp.com/9to5google.com/wp-content/uploads/sites/4/2023/12/google-messages-name-cover.png?resize=1200%2C628&quality=82&strip=all&ssl=1)


![[The AI Show Episode 141]: Road to AGI (and Beyond) #1 — The AI Timeline is Accelerating](https://www.marketingaiinstitute.com/hubfs/ep%20141.1.png)
![[The AI Show Episode 140]: New AGI Warnings, OpenAI Suggests Government Policy, Sam Altman Teases Creative Writing Model, Claude Web Search & Apple’s AI Woes](https://www.marketingaiinstitute.com/hubfs/ep%20140%20cover.png)
![[The AI Show Episode 139]: The Government Knows AGI Is Coming, Superintelligence Strategy, OpenAI’s $20,000 Per Month Agents & Top 100 Gen AI Apps](https://www.marketingaiinstitute.com/hubfs/ep%20139%20cover-2.png)


![Charging clients to use an open source software and proprietary modules [closed]](https://cdn.sstatic.net/Sites/softwareengineering/Img/apple-touch-icon@2.png?v=1ef7363febba)


![From broke musician to working dev. How college drop-out Ryan Furrer taught himself to code [Podcast #166]](https://cdn.hashnode.com/res/hashnode/image/upload/v1743189826063/2080cde4-6fc0-46fb-b98d-b3d59841e8c4.png?#)


OSAMU-NAKAMURA.jpg?width=1920&height=1920&fit=bounds&quality=80&format=jpg&auto=webp#)


.png?#)


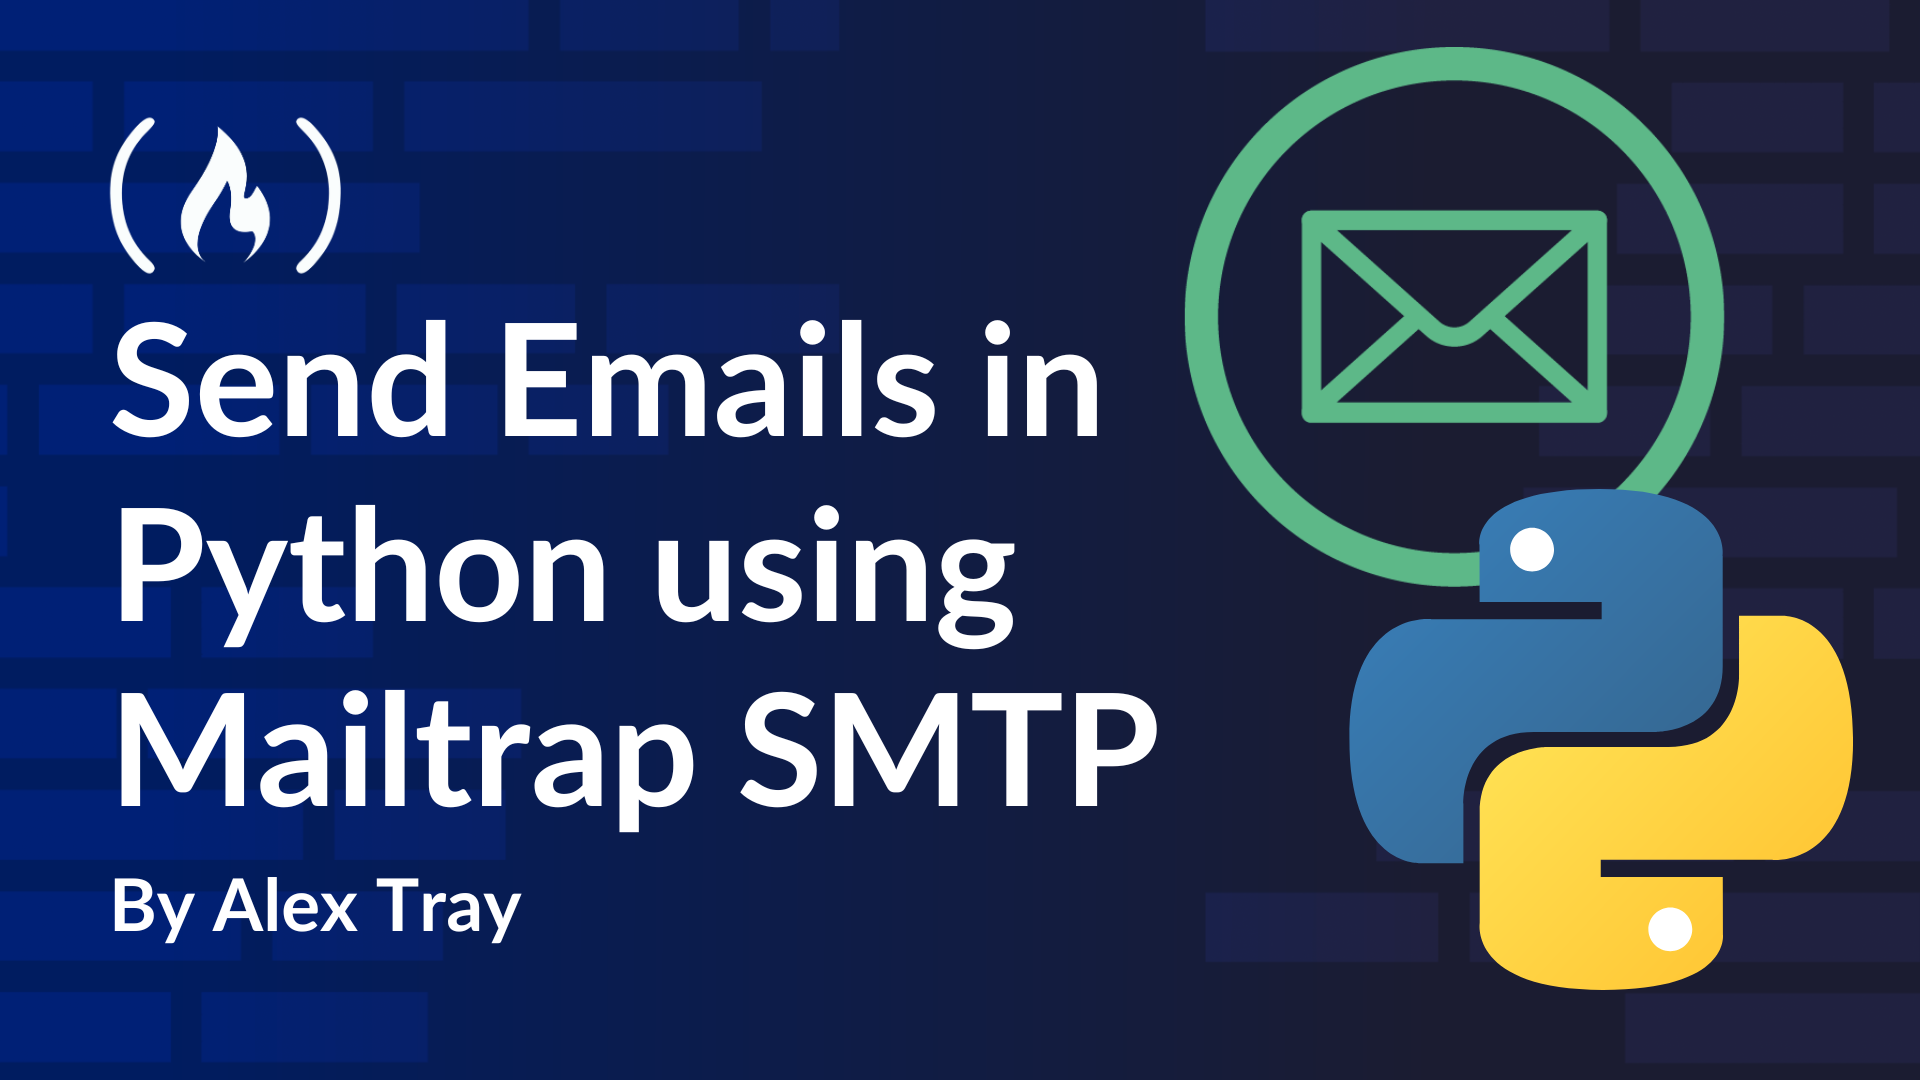
How to Send Emails in Python using Mailtrap SMTP and the Email API
In this tutorial, I’ll walk you through the process of sending emails in Python using two different methods: The traditional SMTP setup with the built-in ‘smtplib’ module. Mailtrap email API via Mailtrap’s official SDK. If you’re unfamiliar wi...
In this tutorial, I’ll walk you through the process of sending emails in Python using two different methods:
The traditional SMTP setup with the built-in ‘smtplib’ module.
Mailtrap email API via Mailtrap’s official SDK.
If you’re unfamiliar with the tools and workflows, SMTP (Simple Mail Transfer Protocol) is the protocol commonly used for sending emails via apps and websites. Mailtrap is an email delivery platform designed for high deliverability with growth-focused features and industry-best analytics.
By the end of the article, you’ll understand how to integrate email-sending capabilities into Python projects and use Mailtrap for reliable email delivery in real-world scenarios.
Table of Contents
‘smtplib’ Setup
To start sending emails with Python, I'll first use the built-in ‘smtplib’ module. This lets you connect to an SMTP server and send emails directly from your app.
So, start by importing the ‘smtplib’ module with the statement below:
import smtplib
Next, create an ‘SMTP’ object to configure the connection to your SMTP server. This object handles the email sending.
smtpObj = smtplib.SMTP(host, port)
‘host’ refers to the SMTP server endpoint, such as ‘live.smtp.mailtrap.io’
‘port’ is the communication channel used by the server. The recommended port is usually 587 for secure email sending with TLS encryption.
Pro tip: An SMTP object has a ‘sendmail’ instance object with three parameters, where each parameter is a string (‘receivers’ is a list of strings).
smtpObj.sendmail(sender, receivers, message)
If you want to ensure you’ve properly imported the ‘smtplib’ module and check the full description of arguments and classes, run the following command:
help(smtplib)
How to Send emails with Mailtrap SMTP
This method involves setting up the custom SMTP credentials you get for Mailtrap.
Important notes:
Testing out the service with Mailtrap’s dummy domain – To try Mailtrap, you don’t need to verify your domain right away. You can use Mailtrap’s dummy domain (you get access to it when you sign up), which allows you to simulate sending emails without worrying about the DNS records. This is ideal for testing the service and getting familiar with Mailtrap’s features.
Domain verification for production – If you plan to send real emails to recipients, you’ll need to verify your domain. This involves adding DNS records such as SPF, DKIM, and DMARC to your domain provider’s DNS settings. These records ensure your emails are delivered successfully and help protect against phishing and spoofing. In the next section, I'll show you how to set these up in your domain provider's dashboard.
Verify your sending domain (SPF, DKIM, and DMARC)
DNS records are critical to ensure your emails are delivered successfully, and mailbox providers such as Gmail and Yahoo require DNS authentication.
But before we go through a quick tutorial on how to do it, let’s review each type of record so you understand why they’re so important:
SPF (Sender Policy Framework): The record helps mail servers determine if the sender’s IP address is authorized to send emails from your domain. Simply, adding an SPF record prevents spammers from sending emails that appear to come from your domain.
DKIM (DomainKeys Identified Mail): DKIM uses encryption to verify the sender's domain and ensures that the email content hasn't been tampered with during transmission. This protects your emails from being spoofed.
DMARC (Domain-based Message Authentication, Reporting & Conformance): DMARC ties SPF and DKIM together, providing a policy for handling unauthenticated emails and reporting on email activities. In a nutshell, it gives you more control over your domain’s email security.
Now, here’s how to add the records:
First, you need to access your domain provider's DNS settings. Usually, you can access them in the domain register or domain settings. For example, GoDaddy calls the menu Manage DNS, and it's dubbed similarly with other providers.
Next, add (copy-paste) the DNS records Mailtrap provides into your domain provider's DNS settings. Note that Mailtrap's records are read-made, and SPF is pre-parsed, so you don't need to create anything additional – just add the records.

- Finally, you can check the status of your records with Mailtrap.
Below is the bare-bones script for sending emails via Mailtrap using Python. For security reasons, the script uses placeholder credentials for the username and password (except for the SMTP server endpoint and port).
When running the script, be sure to replace these placeholders with your actual Mailtrap credentials to ensure the email is sent successfully.
import smtplib
from email.mime.text import MIMEText

# Configuration
port = 587
smtp_server = "live.smtp.mailtrap.io"
login = "api"  # Your login generated by Mailtrap
password = "1a2b3c4d5e6f7g"  # Your password generated by Mailtrap

sender_email = "mailtrap@example.com"
receiver_email = "new@example.com"

# Plain text content
text = """\
Hi,
Check out the new post on the Mailtrap blog:
SMTP Server for Testing: Cloud-based or Local?
https://blog.mailtrap.io/2018/09/27/cloud-or-local-smtp-server/
Feel free to let us know what content would be useful for you!
"""

# Create MIMEText object
message = MIMEText(text, "plain")
message["Subject"] = "Plain text email"
message["From"] = sender_email
message["To"] = receiver_email

# Send the email
with smtplib.SMTP(smtp_server, port) as server:
    server.starttls()  # Secure the connection
    server.login(login, password)
    server.sendmail(sender_email, receiver_email, message.as_string())

print('Sent')
In the script:
The ‘smtplib’ and ‘MIMEText’ modules have been imported from Python’s library.
As mentioned, SMTP server configuration needs to be updated with your credentials. But the server endpoint and port are as is.
Since this is a bare-bones script, I used ‘MIMEText’, which holds ‘plaintext’ only. But the script can be easily refactored to use ‘MIMEMultipart’ for both ‘plaintext’ and ‘HTML’. Jump to the quick tut below to see how it’s done.
When sending the email, I chose to use the ‘with’ statement (context manager) to ensure the SMTP server connection gets closed right after the email gets sent.
Security tip:
Server information and the login credentials shouldn't be hardcoded into your sending script. When setting the script for production, make sure you use environment variables to store sensitive information. This makes the code more secure and more flexible, particularly when you move it between different dev stages. For example ⬇️
import os

smtp_server = os.getenv("SMTP_SERVER", "default.smtp.server")
login = os.getenv("SMTP_LOGIN")
password = os.getenv("SMTP_PASSWORD")

# Example usage in an SMTP connection setup
# smtp.login(login, password)
Note that you need to set the variables in your operating system prior to running the script.
Refactor the script to use HTML emails
HTML emails provide a better user experience. They allow you to include formatted text, images, tables, clickable links, and custom styling. This works great for marketing emails, newsletters, or any communication where design and branding matter.
So, to refactor the script, you would import ‘MIMEMultipart’ and ‘MIMEText’. This action allows you to customize the HTML emails yet keep the plain-text versions as a fallback if your recipients cannot open the HTML email.
Here’s the revised script:
import smtplib
from email.mime.multipart import MIMEMultipart
from email.mime.text import MIMEText

# Configuration
smtp_server = "live.smtp.mailtrap.io"
port = 587
login = "api"  # Mailtrap login
password = "1a2b3c4d5e6f7g"  # Mailtrap password

sender_email = "mailtrap@example.com"
receiver_email = "new@example.com"

message = MIMEMultipart()
message["From"] = sender_email
message["To"] = receiver_email
message["Subject"] = "HTML Email"

# Add plain text content (optional, for email clients that don't render HTML)
message.attach(MIMEText("This is a plain text version of the email.", "plain"))

# Add HTML content
html_content = """\


    Welcome to Mailtrap!
    This is an example of an HTML email.


"""
message.attach(MIMEText(html_content, "html"))

# Send the email
with smtplib.SMTP(smtp_server, port) as server:
    server.starttls()
    server.login(login, password)
    server.sendmail(sender_email, receiver_email, message.as_string())

print('Sent')
Lastly, I’ve included video instructions for the SMTP method – so if that works better for you, feel free to check it out

![From hating coding to programming satellites at age 37 with Francesco Ciulla [Podcast #165]](https://cdn.hashnode.com/res/hashnode/image/upload/v1742585568977/09b25b8e-8c92-4f4b-853f-64b7f7915980.png?#)


