New Features in CLion’s Bazel Plugin: Custom Toolchains and Windows Support
CLion supports the Bazel build tool through a third-party plugin. We recently added two of its most requested features: custom toolchains and Windows support. As an active contributor to the plugin’s development, I’d like to show you how to get started using these features. In this blog post, I’ll explain how to configure your Windows […]
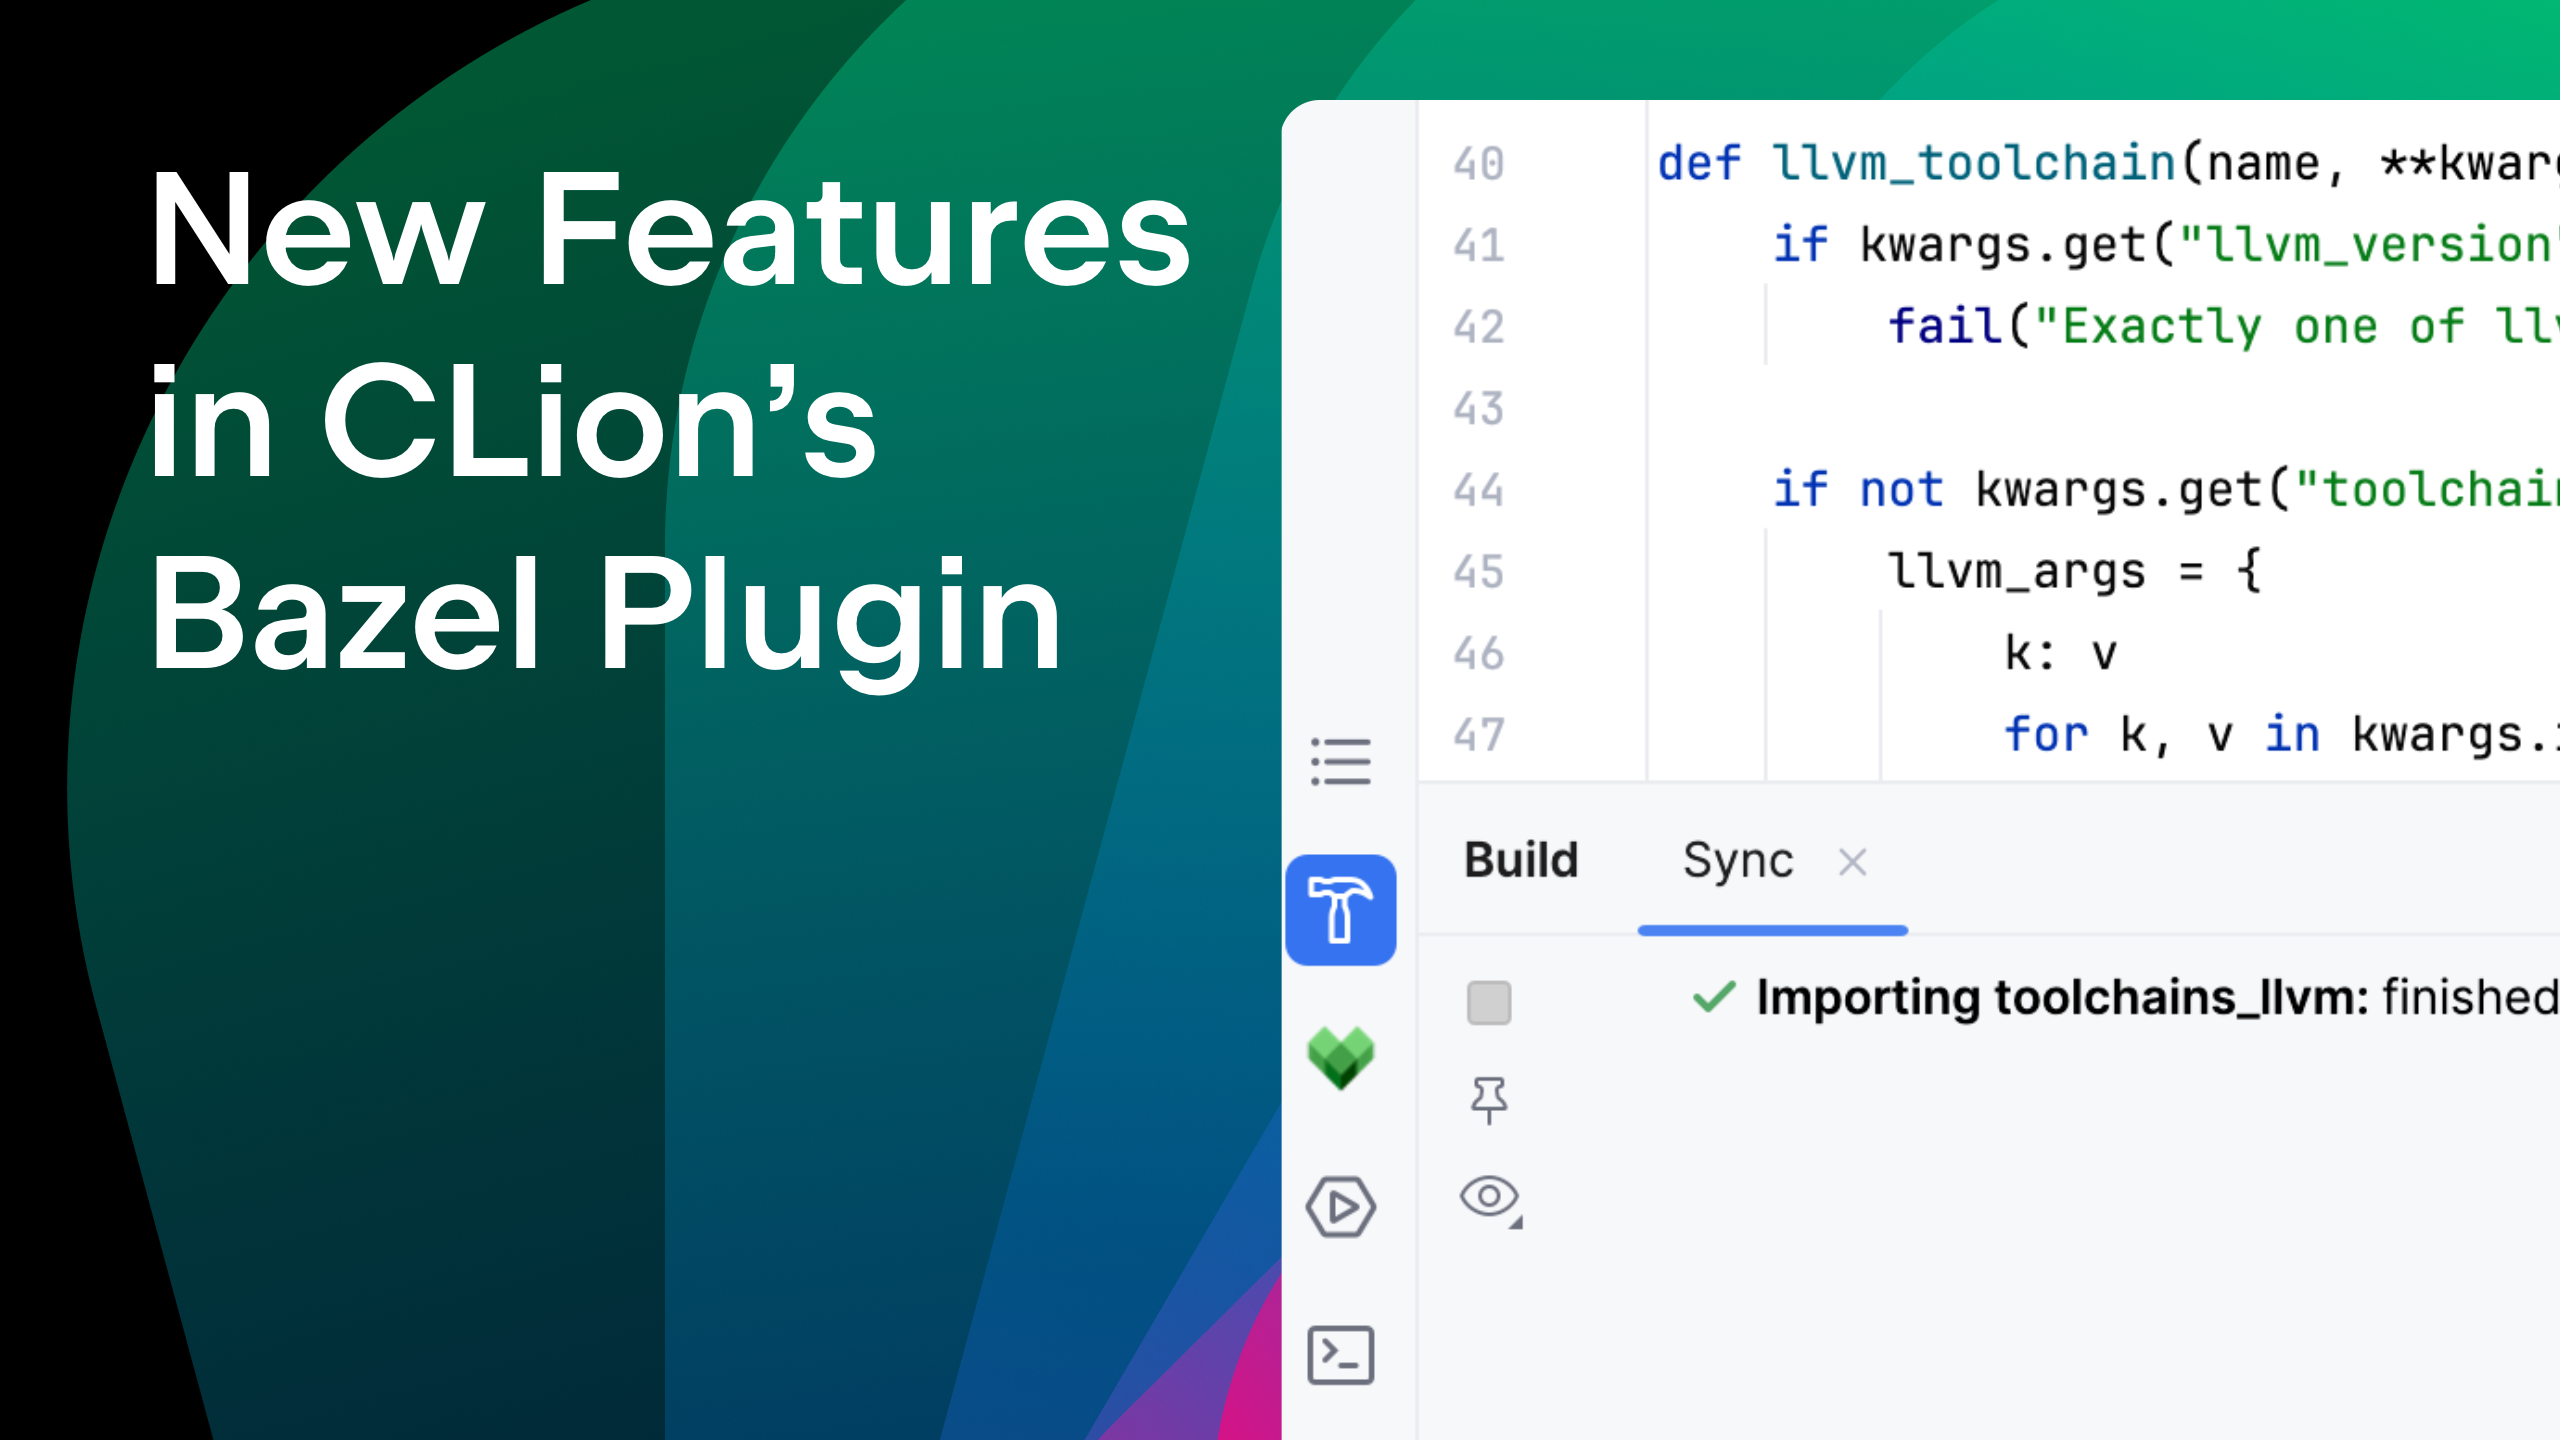
CLion supports the Bazel build tool through a third-party plugin. We recently added two of its most requested features: custom toolchains and Windows support. As an active contributor to the plugin’s development, I’d like to show you how to get started using these features. In this blog post, I’ll explain how to configure your Windows machine for C/C++ development with Bazel, import a Bazel project into CLion, and set up a custom toolchain using LLVM as an example.
What is Bazel and why is it popular in C/C++?
Bazel is an extensible open-source build tool developed by Google that is designed to handle projects of any size. It provides fast and reproducible builds for almost any language, while also offering dependency management and incremental builds.
Bazel is particularly popular for C and C++, as it addresses many of the challenges commonly associated with C/C++ development. Its advanced caching can minimize rebuild times by compiling only what has changed, while remote caching and distributed execution allow developers to leverage multiple machines for faster, more efficient development.
Windows support
The latest version of CLion’s Bazel plugin finally features official support for Windows and compatibility with MSVC toolchains. This means you are now able to take full advantage of Bazel’s powerful capabilities directly within CLion.
Getting started
To help you get started, we have put together a quick guide on how to configure your Windows machine for C and C++ development with Bazel. For more details, you can check the official guide provided by Bazel.
1. Install Bazelisk
Bazelisk is a user-friendly wrapper for Bazel that automatically manages Bazel versions for your projects. It ensures you’re always using the correct version without manual upgrades.
Download the latest Bazelisk executable for Windows from Bazelisk Releases on GitHub. Add the downloaded executable to your system’s PATH to make it accessible from the command line. You can also rename the Bazelisk binary to bazel, since it forwards all command line options to Bazel itself.
2. Install MSYS2
Bazel requires a Unix-like environment on Windows for some of its features. MSYS2 provides this environment.
- Download and install MSYS2. Head to the MSYS2 website and follow the installation instructions.
- Install the required tools. MSYS2 by default does not include all tools required for Bazel. To install the missing tools, open the MSYS2 terminal after installation and run the following command:
pacman -S zip unzip patch diffutils git. - Set the BAZEL_SH environment variable. Bazel needs to know where to find the MSYS2 shell. Set the BAZEL_SH environment variable to:
\usr\bin\bash.exe C:\msys64.
3. Install Visual Studio
To build C and C++ projects with Bazel, you’ll first need to install Visual Studio Build Tools. These tools come bundled with Visual Studio.
- Install Visual Studio. Download and install Visual Studio from the official website. During installation, select the C++ development workload to ensure the necessary components are installed.
- Set the BAZEL_VC environment variable. Bazel also needs to know the location of your Visual Studio installation. Set the BAZEL_VC environment variable to the Visual Studio installation path as follows:
C:\Program Files (x86)\Microsoft Visual Studio\2022\Community\VC. The path might be different for you depending on what Visual Studio version you installed.
After installing and configuring Bazel on your Windows machine, following a few best practices can help you avoid common pitfalls. Here are some tips to ensure a smooth and efficient development experience. For more details, refer to the official Bazel configuration guide.
Tip 1: Long path issues
Some applications on Windows have a maximum path length limitation, which can impact tools like the MSVC compiler. You can try to mitigate these issues by taking the following steps:
- Use a short output directory. Configure Bazel to use a shorter output path by adding the following line to your
.bazelrcfile:startup --output_user_root=C:/tmp. - Enable 8.3 filename support. Bazel itself can also shorten long paths when 8.3 filename support is enabled. Ensure this feature is enabled for the volume your project is stored on. You can enable 8.3 filename support for all volumes by running the following command:
fsutil 8dot3name set 0.
Tip 2: Enable symlinks
Certain Bazel features, such as handling runfiles, require symlink support on Windows. Follow these steps to enable symlink support:
- Enable developer mode. To use symlinks on Windows without elevated permissions, developer mode has to be enabled. Follow the Microsoft guide to enable this mode on your system.
- Enable symlink support. Add the following lines to your
.bazelrcfile to enable symlink functionality in Bazel:
startup --windows_enable_symlinks

build --enable_runfiles
Importing a project
Importing a Bazel project into CLion on Windows works the same way as it does on Linux and macOS. However, before proceeding, ensure that your project builds successfully on Windows, as this is essential for the import process to work correctly. If you’re new to the Bazel plugin, the simplest way to import a project is to just open the root directory in CLion. To do this, choose the Open option on the CLion welcome screen and select the root directory of your project.

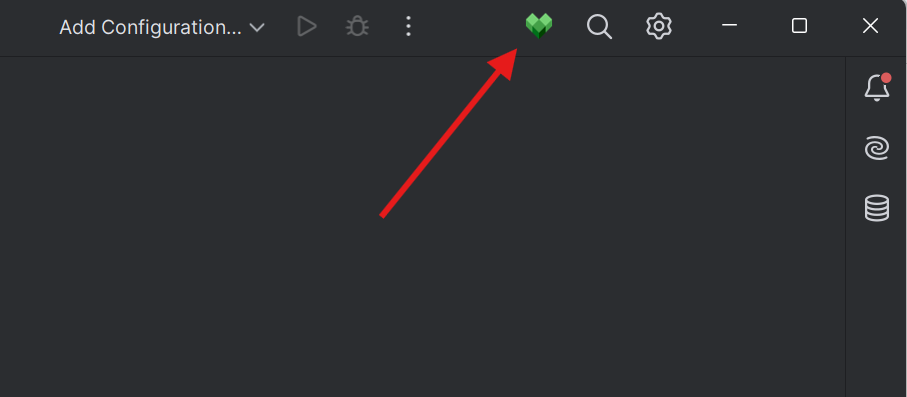
After opening the project, CLion will import it for you. This process is referred to as synchronizing the project, since CLion analyzes the contents of your BUILD files and automatically configures the project accordingly. If you make any changes to your BUILD files, you need to re-sync your project by pressing the Bazel heart in the top right-hand corner.
What parts of your project are loaded by CLion can be configured in the project view file. By default, the Bazel plugin creates the .clwb/.bazelproject file that simply imports the entire project. For additional customization details, consult the Bazel plugin documentation.
Custom toolchains
For a while, the CLion Bazel plugin was primarily designed to work with the default local C and C++ toolchain. However, with the growing need to fully support Bazel on Windows, adding compatibility for MSVC became a priority. We took this opportunity to refine the plugin’s toolchain support in general. As a result, the CLion Bazel plugin now includes robust support for custom toolchains, enabling developers to leverage diverse toolchain configurations across platforms.
CLion supports many popular compilers such as GCC, LLVM, and MSVC, and the flexibility of custom toolchains allows you to integrate any of these compilers into your setup. Furthermore, since Bazel isn’t limited to the mentioned compilers, the update makes cross-platform development possible for automotive and embedded projects.
For example, to use LLVM with Bazel, you can configure it in your MODULE.bazel file as follows:
bazel_dep(name = "toolchains_llvm", version = "1.3.0")

llvm = use_extension("@toolchains_llvm//toolchain/extensions:llvm.bzl", "llvm")
llvm.toolchain(
   llvm_version = "19.1.0",
)

use_repo(llvm, "llvm_toolchain")
register_toolchains("@llvm_toolchain//:all")
For more details about the LLVM toolchain for Bazel, refer to the toolchains_llvm GitHub repository.
If you’re targeting a custom platform, make sure it is included as a build flag within your project view file. Without this, CLion might not be able to resolve all of your includes. For instance, when using the LLVM toolchain to target Wasm, the following section should be added to your project view file.
build_flags:
  --platforms=@toolchains_llvm//platforms:wasm32
Once a custom toolchain like LLVM is set up, CLion automatically detects it and provides tailored code insights, including accurate warnings and inspections, advanced code highlighting, and support for toolchain-specific features.

CLion’s new support for custom toolchain resolution is also essential for the support of future Bazel versions, considering the Bazel team’s plans to deprecate the default toolchain. Furthermore, it is already recommended to define a custom toolchain in your BUILD files to ensure hermeticity and reproducibility for your builds.
Conclusion
Looking to the future, we’re excited to begin evaluating the possibility of integrating CLion with Bazel transitions. However, if you have any other features you’d like to see supported in the Bazel for CLion plugin, feel free to share them in the comments, and we’ll be happy to follow up.


![Apple Releases macOS Sequoia 15.5 Beta to Developers [Download]](https://www.iclarified.com/images/news/96915/96915/96915-640.jpg)
![Amazon Makes Last-Minute Bid for TikTok [Report]](https://www.iclarified.com/images/news/96917/96917/96917-640.jpg)
![Apple Releases iOS 18.5 Beta and iPadOS 18.5 Beta [Download]](https://www.iclarified.com/images/news/96907/96907/96907-640.jpg)





.jpg?#)




![[The AI Show Episode 142]: ChatGPT’s New Image Generator, Studio Ghibli Craze and Backlash, Gemini 2.5, OpenAI Academy, 4o Updates, Vibe Marketing & xAI Acquires X](https://www.marketingaiinstitute.com/hubfs/ep%20142%20cover.png)











![Is this a suitable approach to architect a flutter app? [closed]](https://i.sstatic.net/4hMHGb1L.png)


