

![T-Mobile says it didn't compromise its values to get FCC to approve fiber deal [UPDATED]](https://m-cdn.phonearena.com/images/article/169088-two/T-Mobile-says-it-didnt-compromise-its-values-to-get-FCC-to-approve-fiber-deal-UPDATED.jpg?#)


![Nomad Goods Launches 15% Sitewide Sale for 48 Hours Only [Deal]](https://www.iclarified.com/images/news/96899/96899/96899-640.jpg)


![Apple Watch Series 10 Prototype with Mystery Sensor Surfaces [Images]](https://www.iclarified.com/images/news/96892/96892/96892-640.jpg)


![[The AI Show Episode 142]: ChatGPT’s New Image Generator, Studio Ghibli Craze and Backlash, Gemini 2.5, OpenAI Academy, 4o Updates, Vibe Marketing & xAI Acquires X](https://www.marketingaiinstitute.com/hubfs/ep%20142%20cover.png)


![Is this a suitable approach to architect a flutter app? [closed]](https://i.sstatic.net/4hMHGb1L.png)


![From broke musician to working dev. How college drop-out Ryan Furrer taught himself to code [Podcast #166]](https://cdn.hashnode.com/res/hashnode/image/upload/v1743189826063/2080cde4-6fc0-46fb-b98d-b3d59841e8c4.png?#)


Keebin’ with Kristina: the One with the Leather Keyboard
Are you eager to get your feet wet in the keyboard surf, but not quite ready to stand up and ride the waves of designing a full-size board? You should …read more

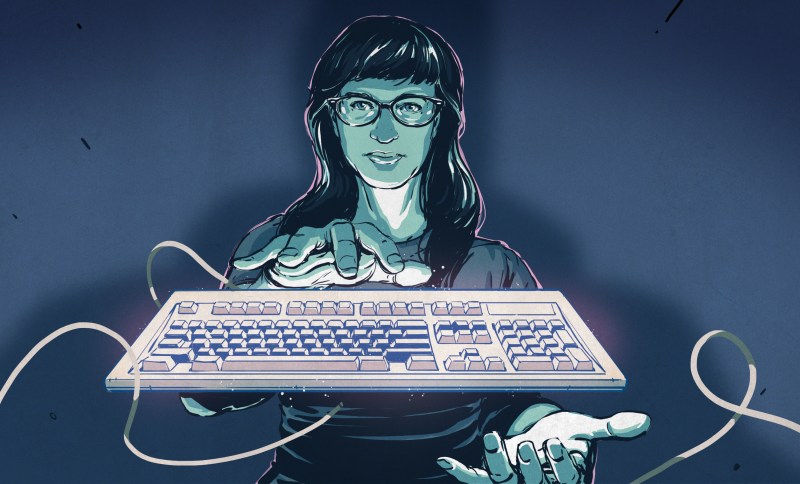
Are you eager to get your feet wet in the keyboard surf, but not quite ready to stand up and ride the waves of designing a full-size board? You should paddle out with a macro pad instead, and take on the foam face-first and lying down.

Naturally, the fewer keys and things you want, the easier it will be to build. But [Robert] is using the versatile Raspberry Pi 2040, which has plenty of I/O pins if you want to expand on his basic plan. Not ready to watch the videos? You can see the schematic and the 3D files on GitHub.
As [Robert] says, this is a great opportunity to learn many skills at once, while ending up with something terrifically useful that could potentially live on your desk from then on. And who knows where that could lead?
Holy Leather Work, Batman!
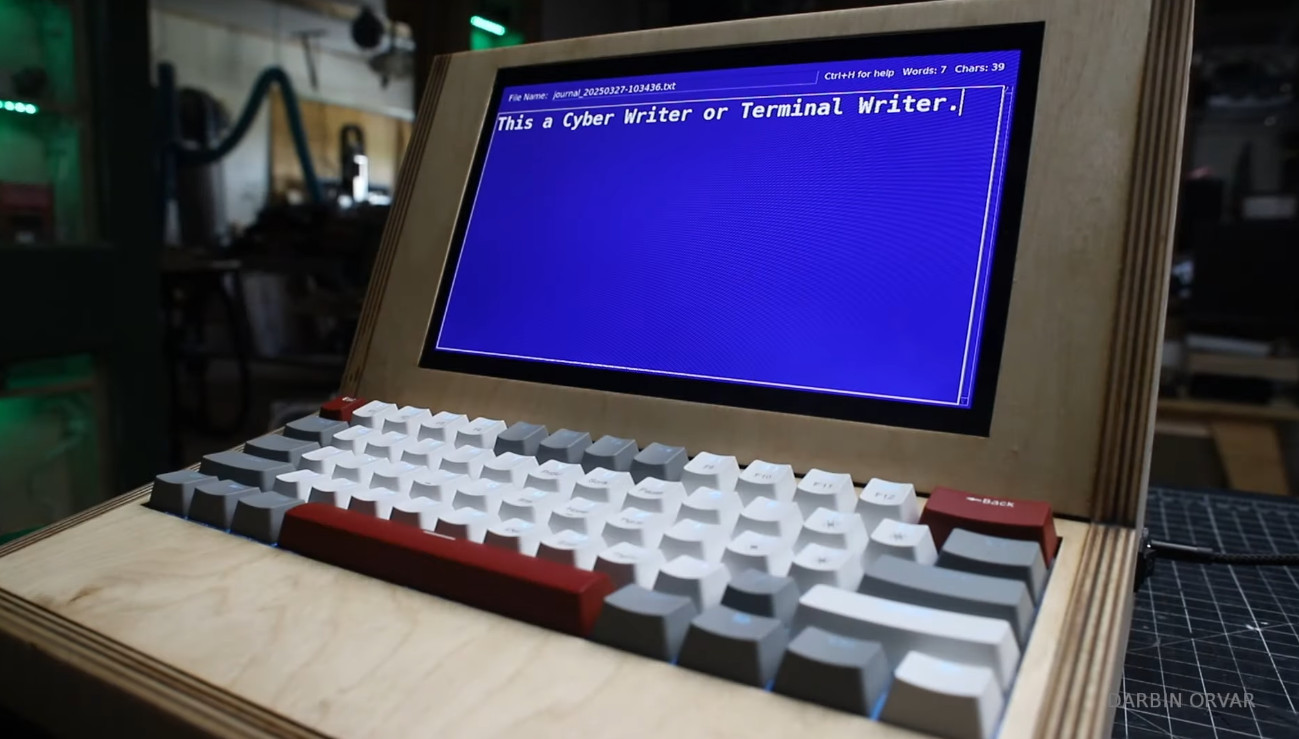
[Notxtwhiledrive] had long wanted to design a keyboard from scratch, but could never think of a compelling concept from which to get going. Then one day while doing some leather work, it dawned on him to design a portable keyboard much the same way as he would a wallet.
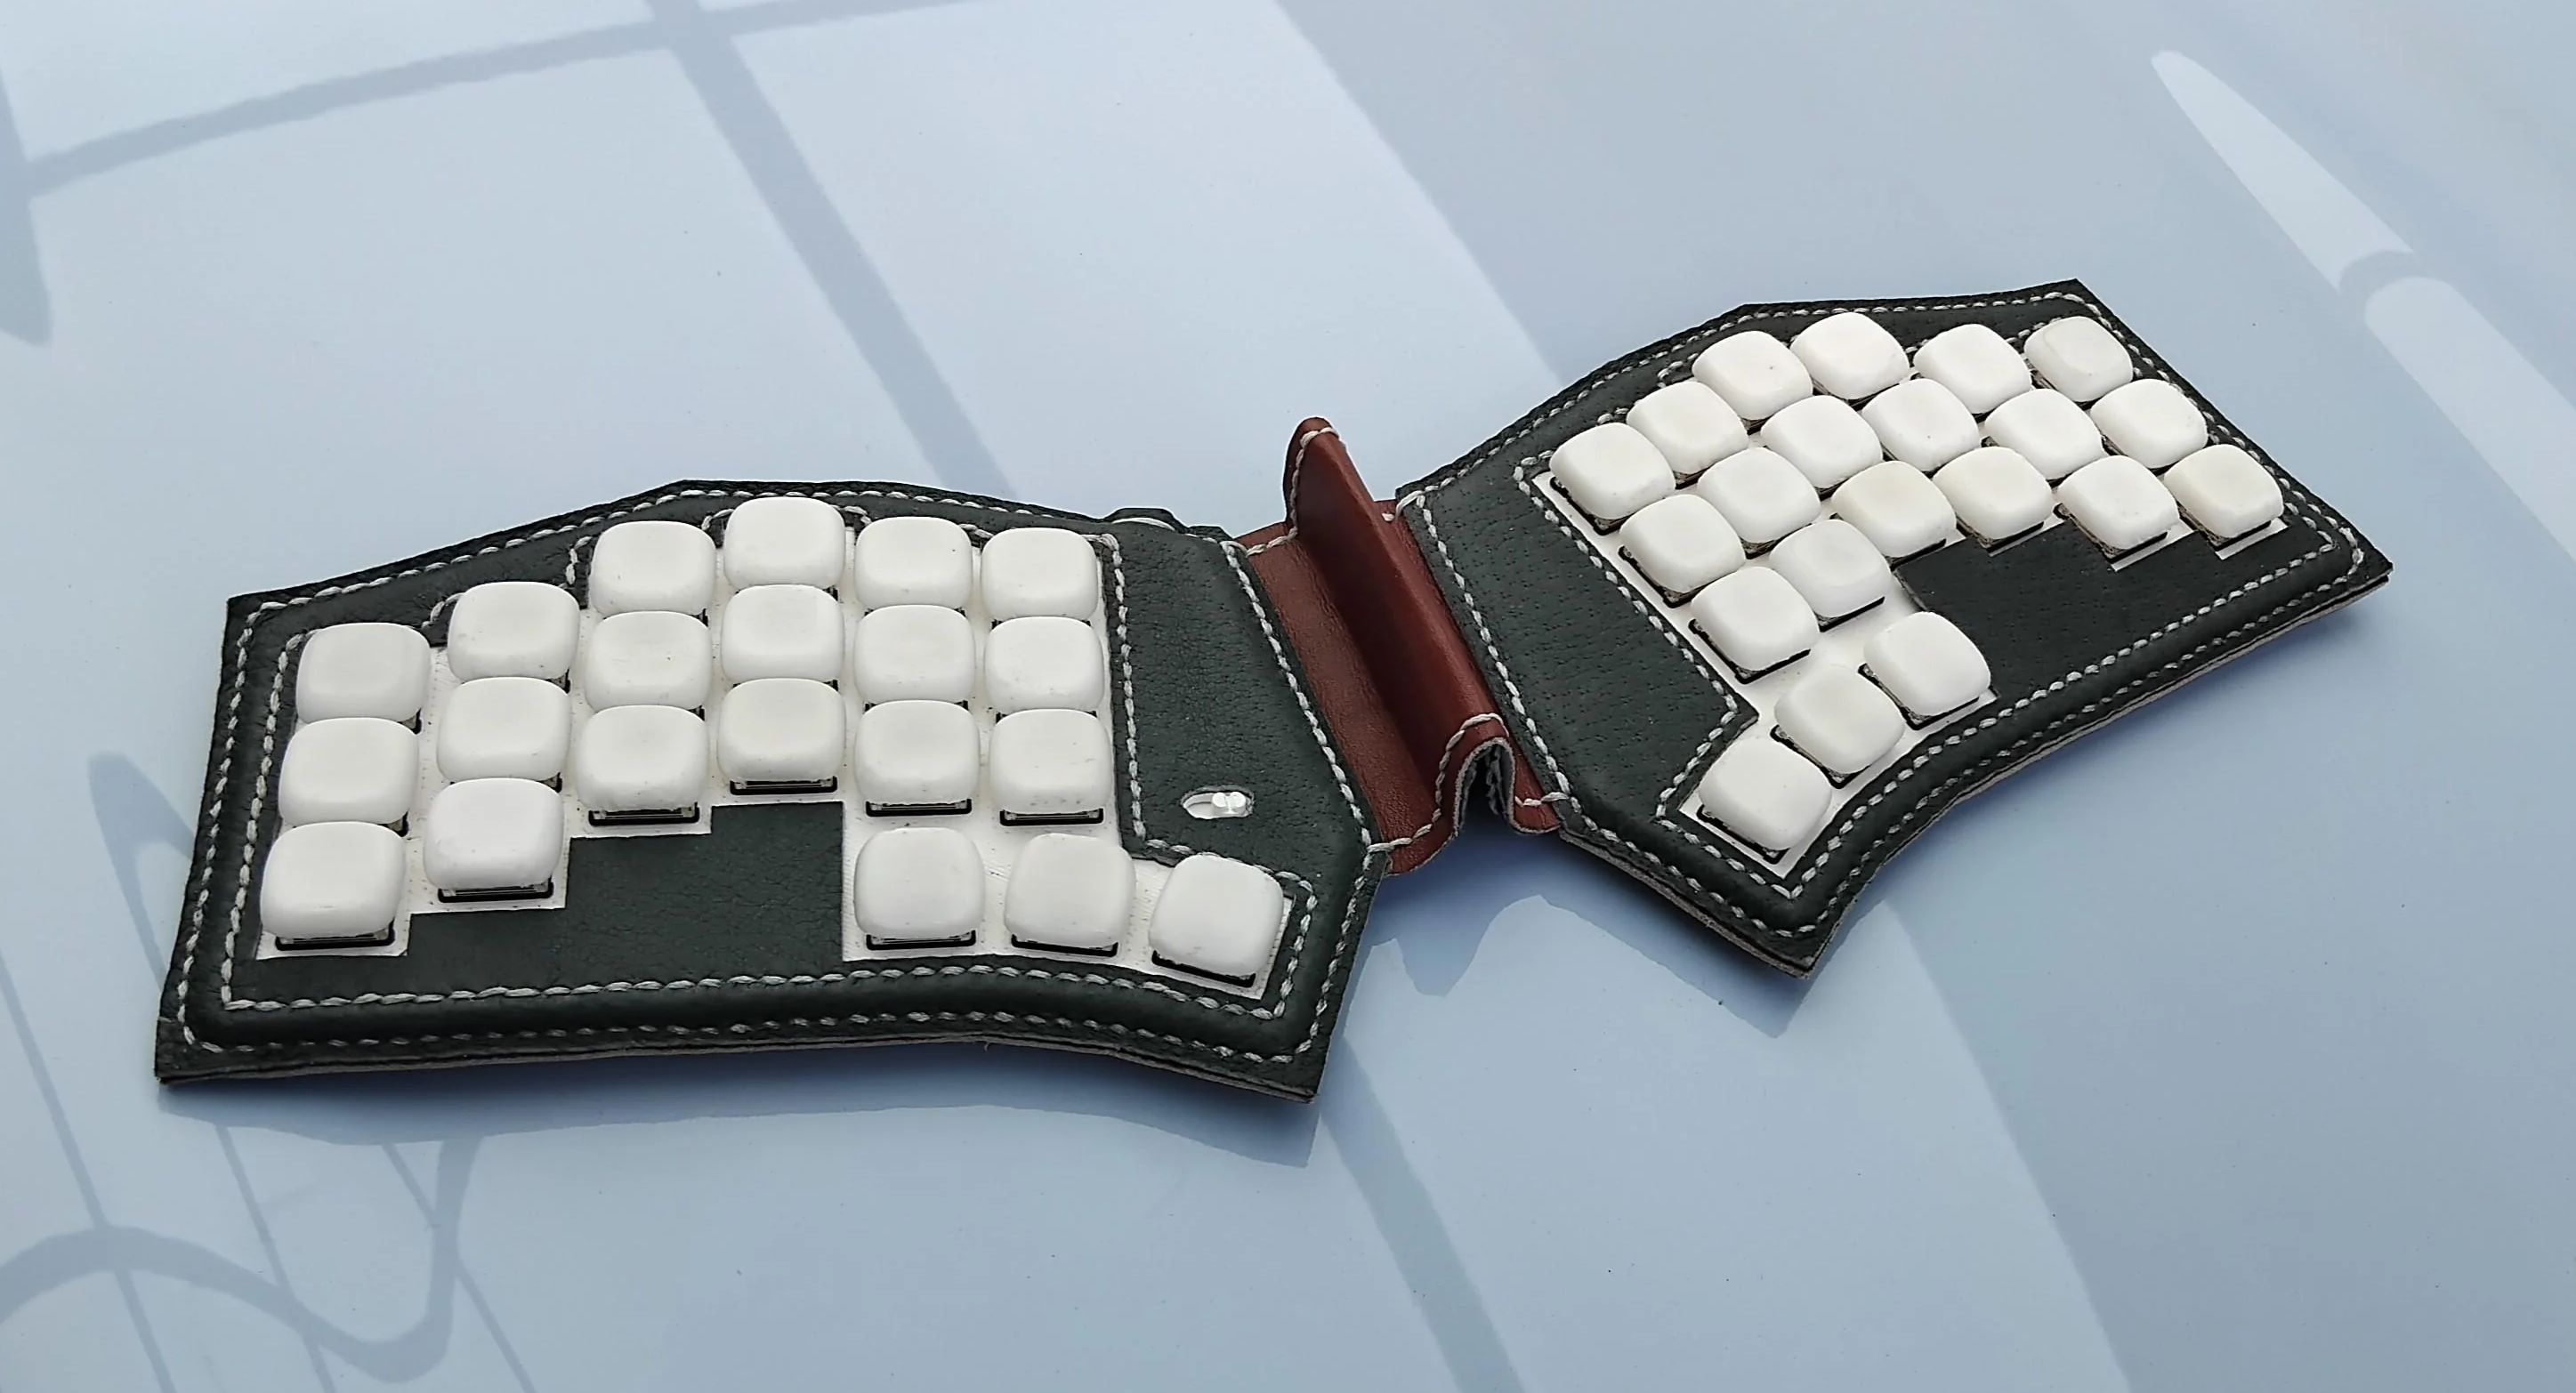
Switch-wise, it has Otemu low-profile reds wearing TPU keycaps. [Notxtwhiledrive] is thinking about making a hot swap version before open-sourcing everything and/or taking commissions. Even better, he apparently recorded video throughout the process and is planning to upload a video about designing and building this beautiful board.
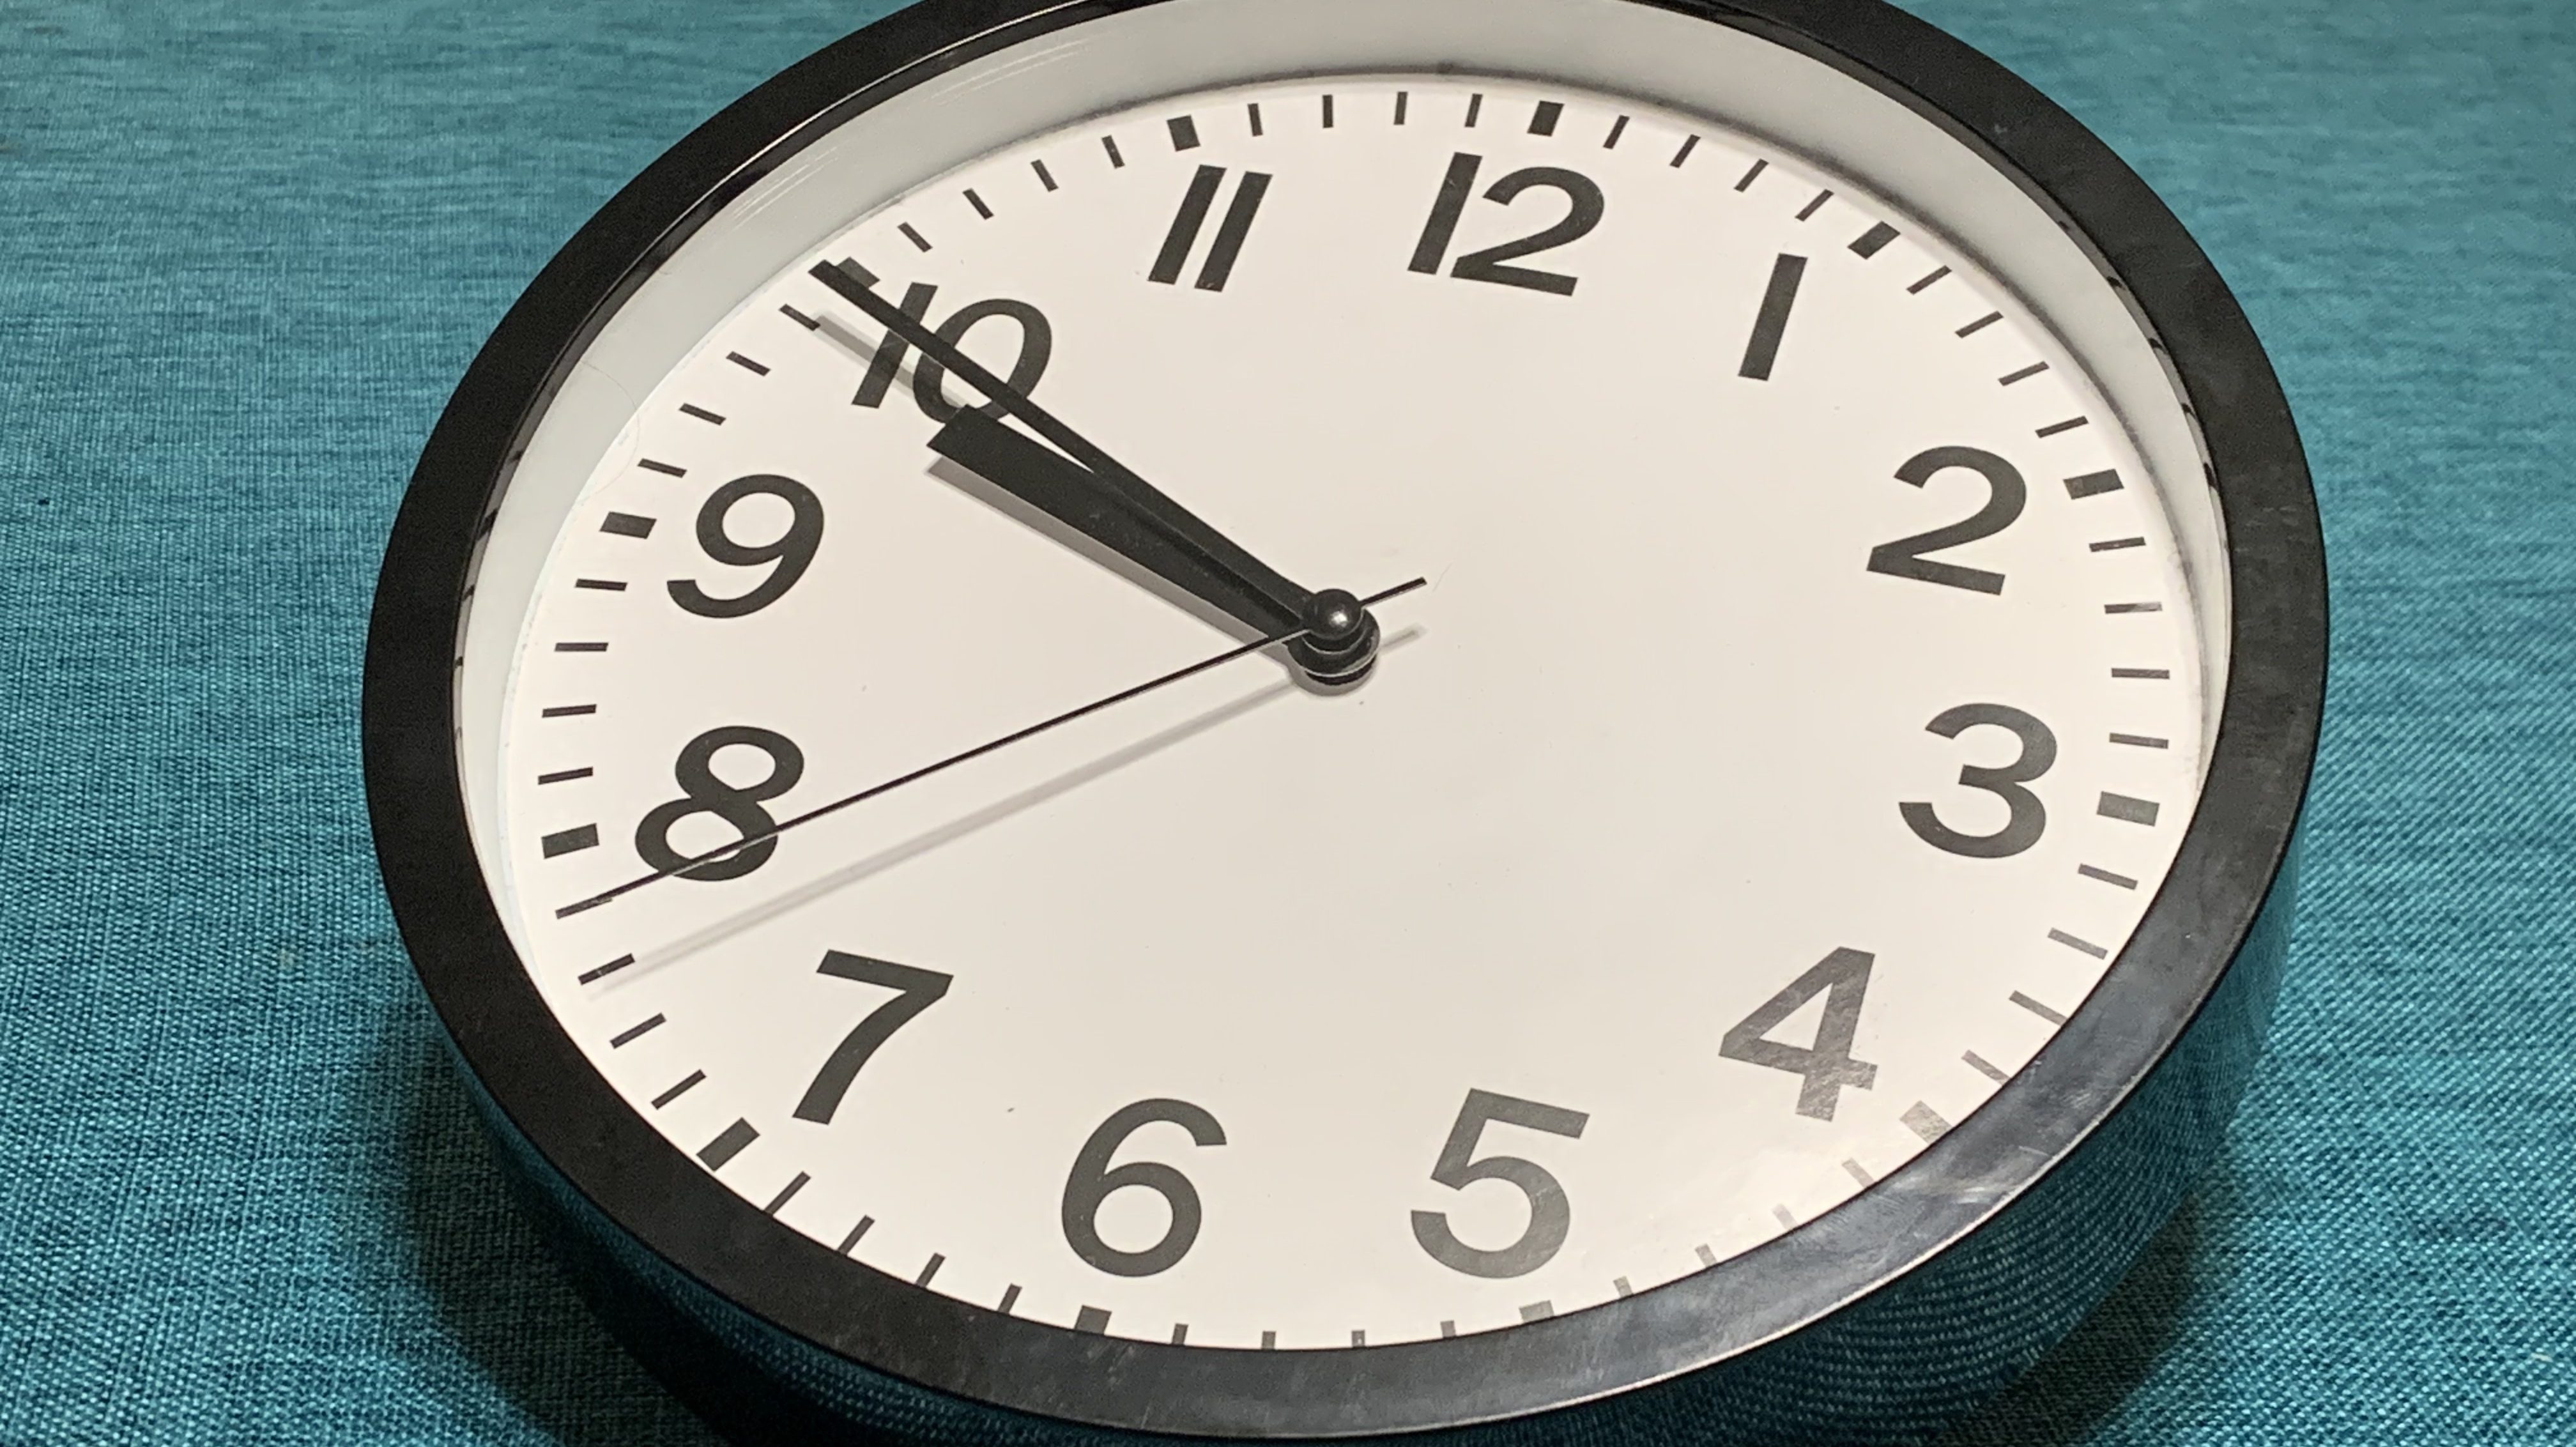
The Centerfold: Levels, the Prototype

Do you rock a sweet set of peripherals on a screamin’ desk pad? Send me a picture along with your handle and all the gory details, and you could be featured here!
Historical Clackers: the Secor
When we last left Historical Clackers, we examined the Williams machine with its curious grasshopper-like type bars. If you’ll recall, the Williams Typewriter Company was acquired by Jerome Burgess Secor, a former superintendent of the Williams Typewriter Company.
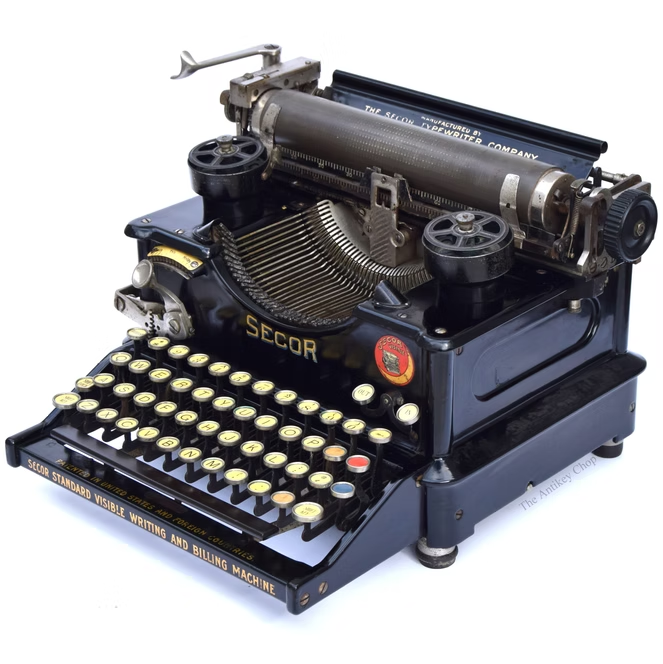
Secor, an inventor in his own right, began working at Williams in 1899. By 1902, he was filing typewriter patents for frontstrike machines that looked nothing like the Williams grasshopper number. By the summer of 1910, Secor took over the failed company.
Though radically different, the Secor typewriters were not radically better than the Williams grasshopper. And though the typist could see more with the Secor, the only real hype surrounded the removable, interchangeable escapement.
The Secor Company produced about 7,000 machines between three models, one with a wide carriage. Between the impending war, competition, and alleged labor issues, the writing was on the wall for the Secor Company, and it folded in 1916.
But you shouldn’t feel sorry for Mr. Secor. His main wheelhouse was mechanical toy and sewing machine manufacture. He did well for himself in these realms, and those items are far more sought after by collectors than his typewriters, interestingly enough.
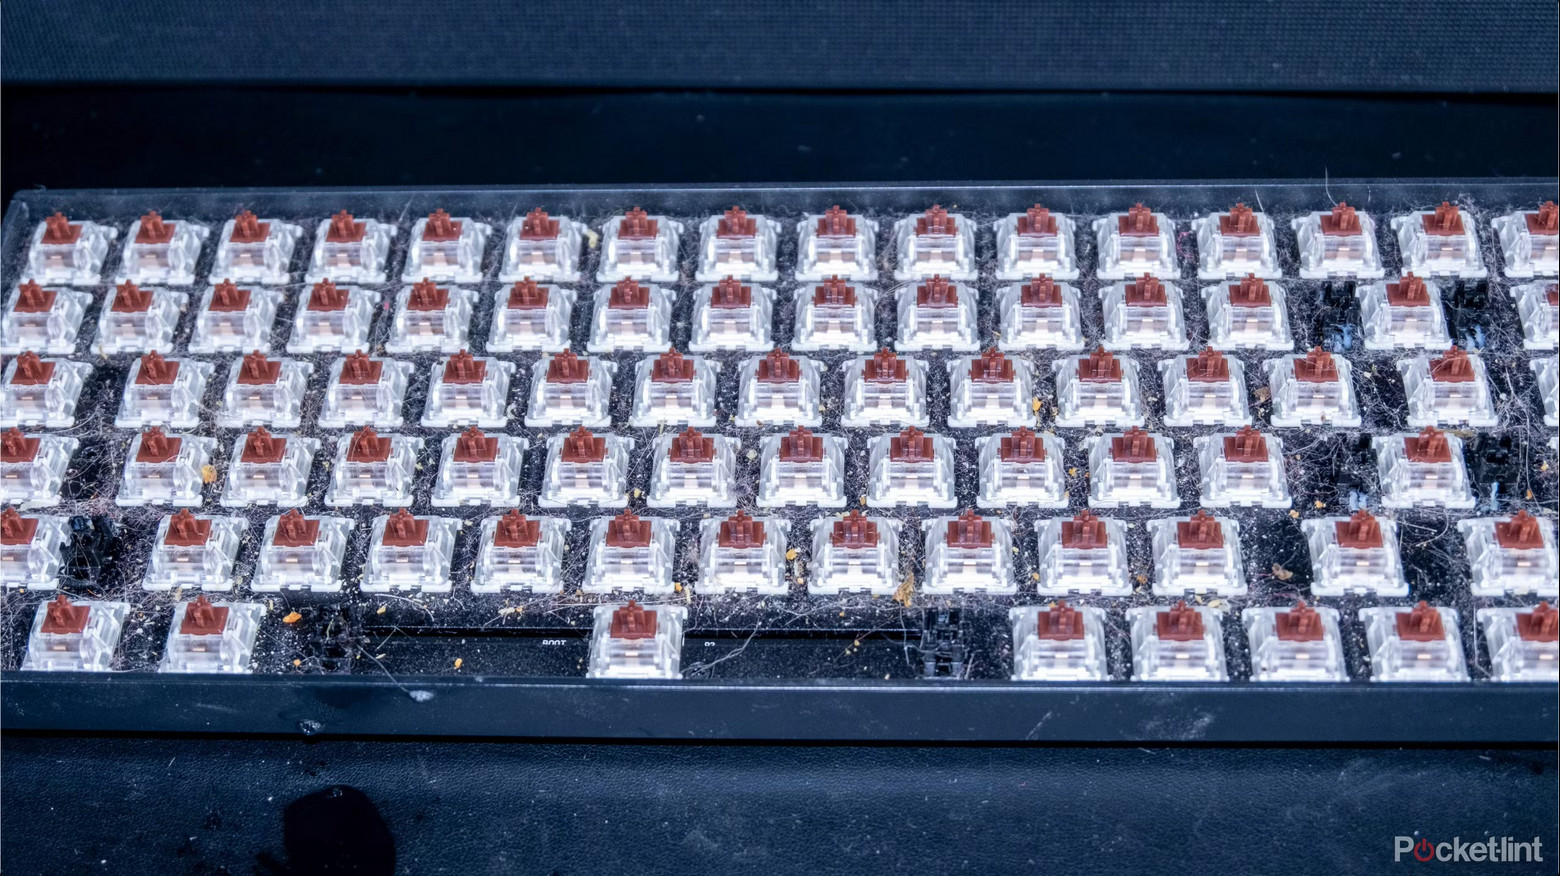
Finally, a Quick Guide to Cleaning That Awful Keyboard Of Yours
Oh, I’m pointing one finger back at myself, trust me. You should see this thing. I really should go at it with the compressor sometime soon. And I might even take all the steps outlined in this keyboard deep-cleaning guide by [Ben Smith].
[Ben] estimates that this exercise will take 30 minutes to an hour, but also talks about soaking the keycaps, so (in my experience) you can add several hours of drying time to that ballpark. Plan for that and have another keyboard to use.
Apparently he has two cats that sit directly on the keyboard at every opportunity. I’m not so lucky, so although there is definitely cat hair involved, it doesn’t blanket the switch plate or anything. But you should see [Ben]’s keyboard.
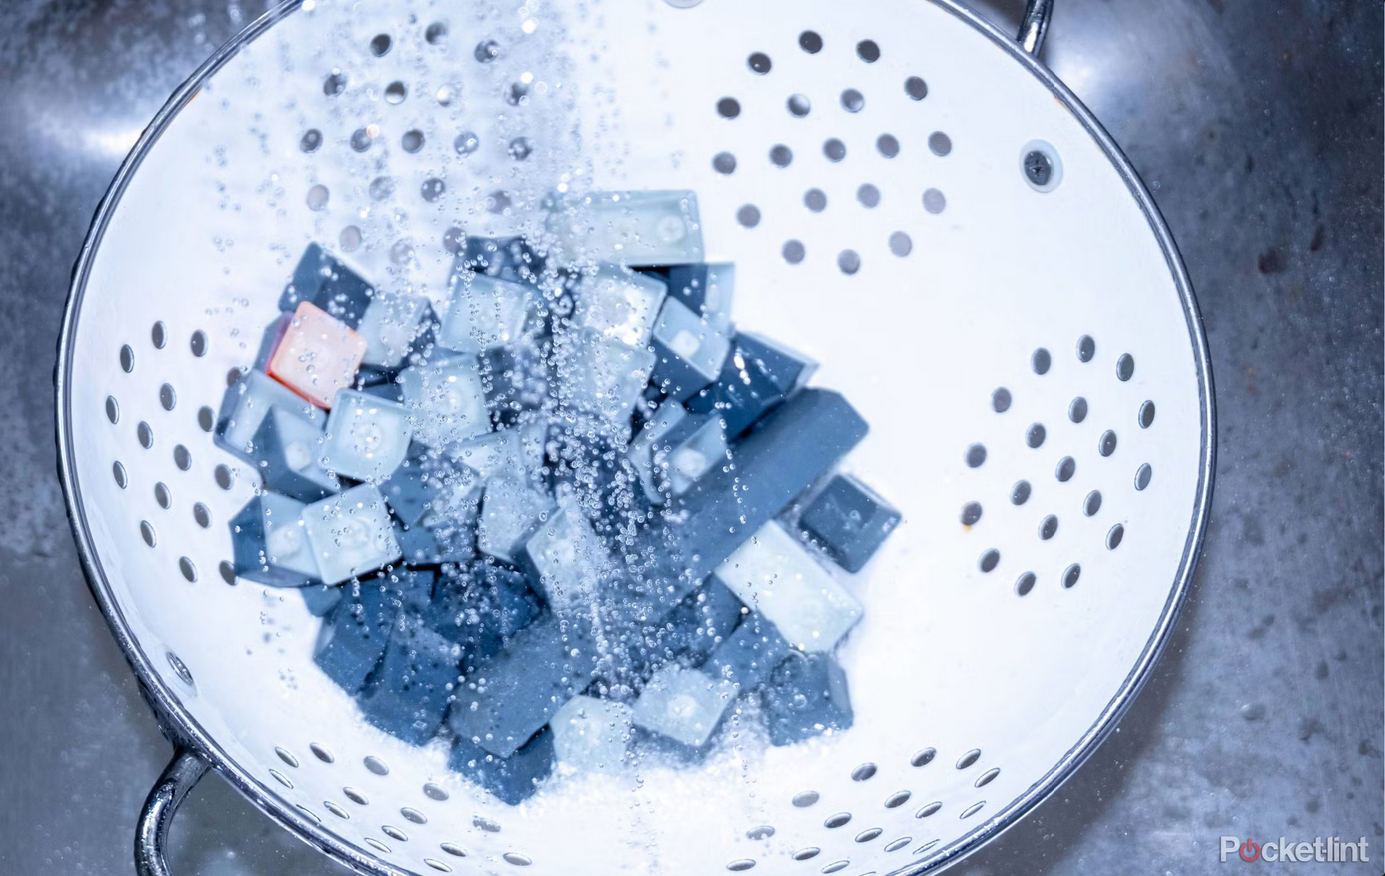
My suggestion — if they’re super gross, put them in something with a lid so you can shake the whole concoction around and knock the dirt off with force.
After about half an hour, use a colander to strain and drain them while rinsing them off. Then let them get good and dry, and put your board back together.
Enjoy the feeling of non-oily keycaps and the sound of full thock now that the blanket of cat hair has been lifted. Rejoice!
Got a hot tip that has like, anything to do with keyboards? Help me out by sending in a link or two. Don’t want all the Hackaday scribes to see it? Feel free to email me directly.